Windows
This article guides you through setting up Discord as an identity provider, enabling your Windows game to access Player Network authentication services.
As authentication through the Discord App has been deprecated in the Discord SDK, using Discord App for authentication may encounter problems in the future. To ensure that Discord authentication remains reliable, we recommend using WebView instead for web authentication for Discord. For more details, see the configuration DISCORD_LOGIN_USING_WEB.
Prerequisites
1. Set up the Discord app in Discord Developer Platform
For multi-store packages, a separate REDIRECT_URL_SCHEME is required. One app ID supports 10 Redirect URLs (about 4 multi-store packages). Apply for more app IDs if games require more than 4 multi-store packages. To use multiple app IDs, games need to configure multiple app IDs in INTLConfig.ini and register multiple Discord apps in Player Network Console.
1. Create a Discord app
Before creating the Discord app, register an account in the Discord official website and complete the account authentication (by email) according to the prompts.
- Go to Discord Developer Platform.
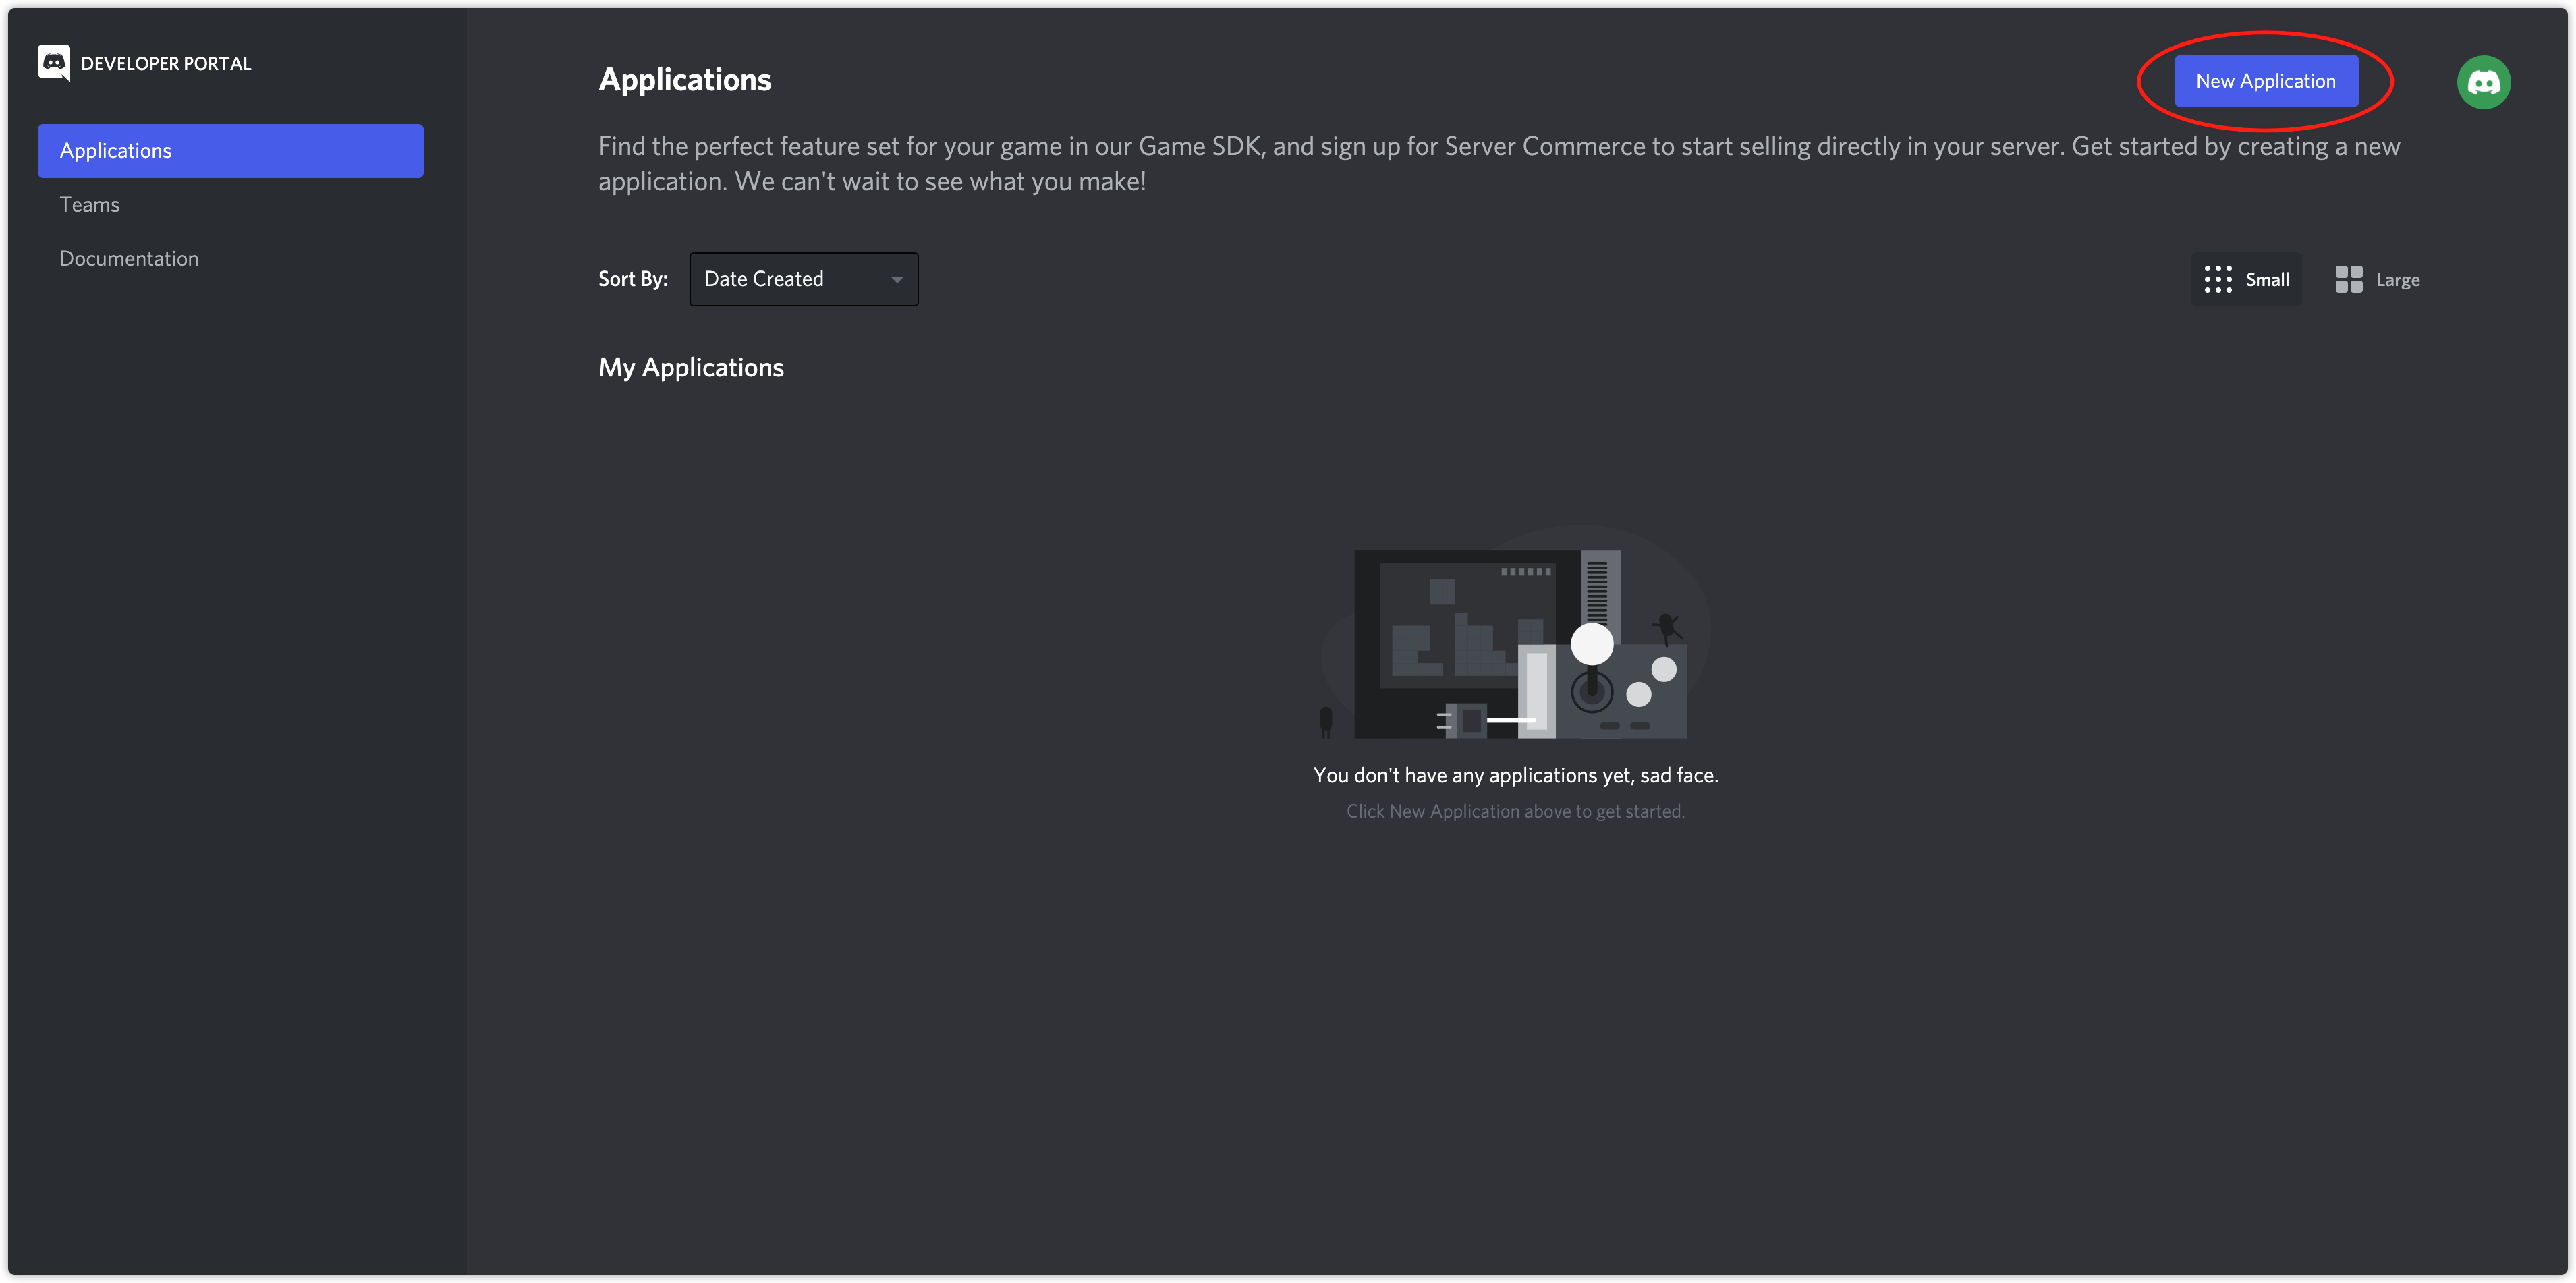
On first login, users might have to verify that they are not bots. You may complete it after the email verification. - From the top right corner of the Applications page, click New Application.

- In the app creation popup, enter the application name and click Create.
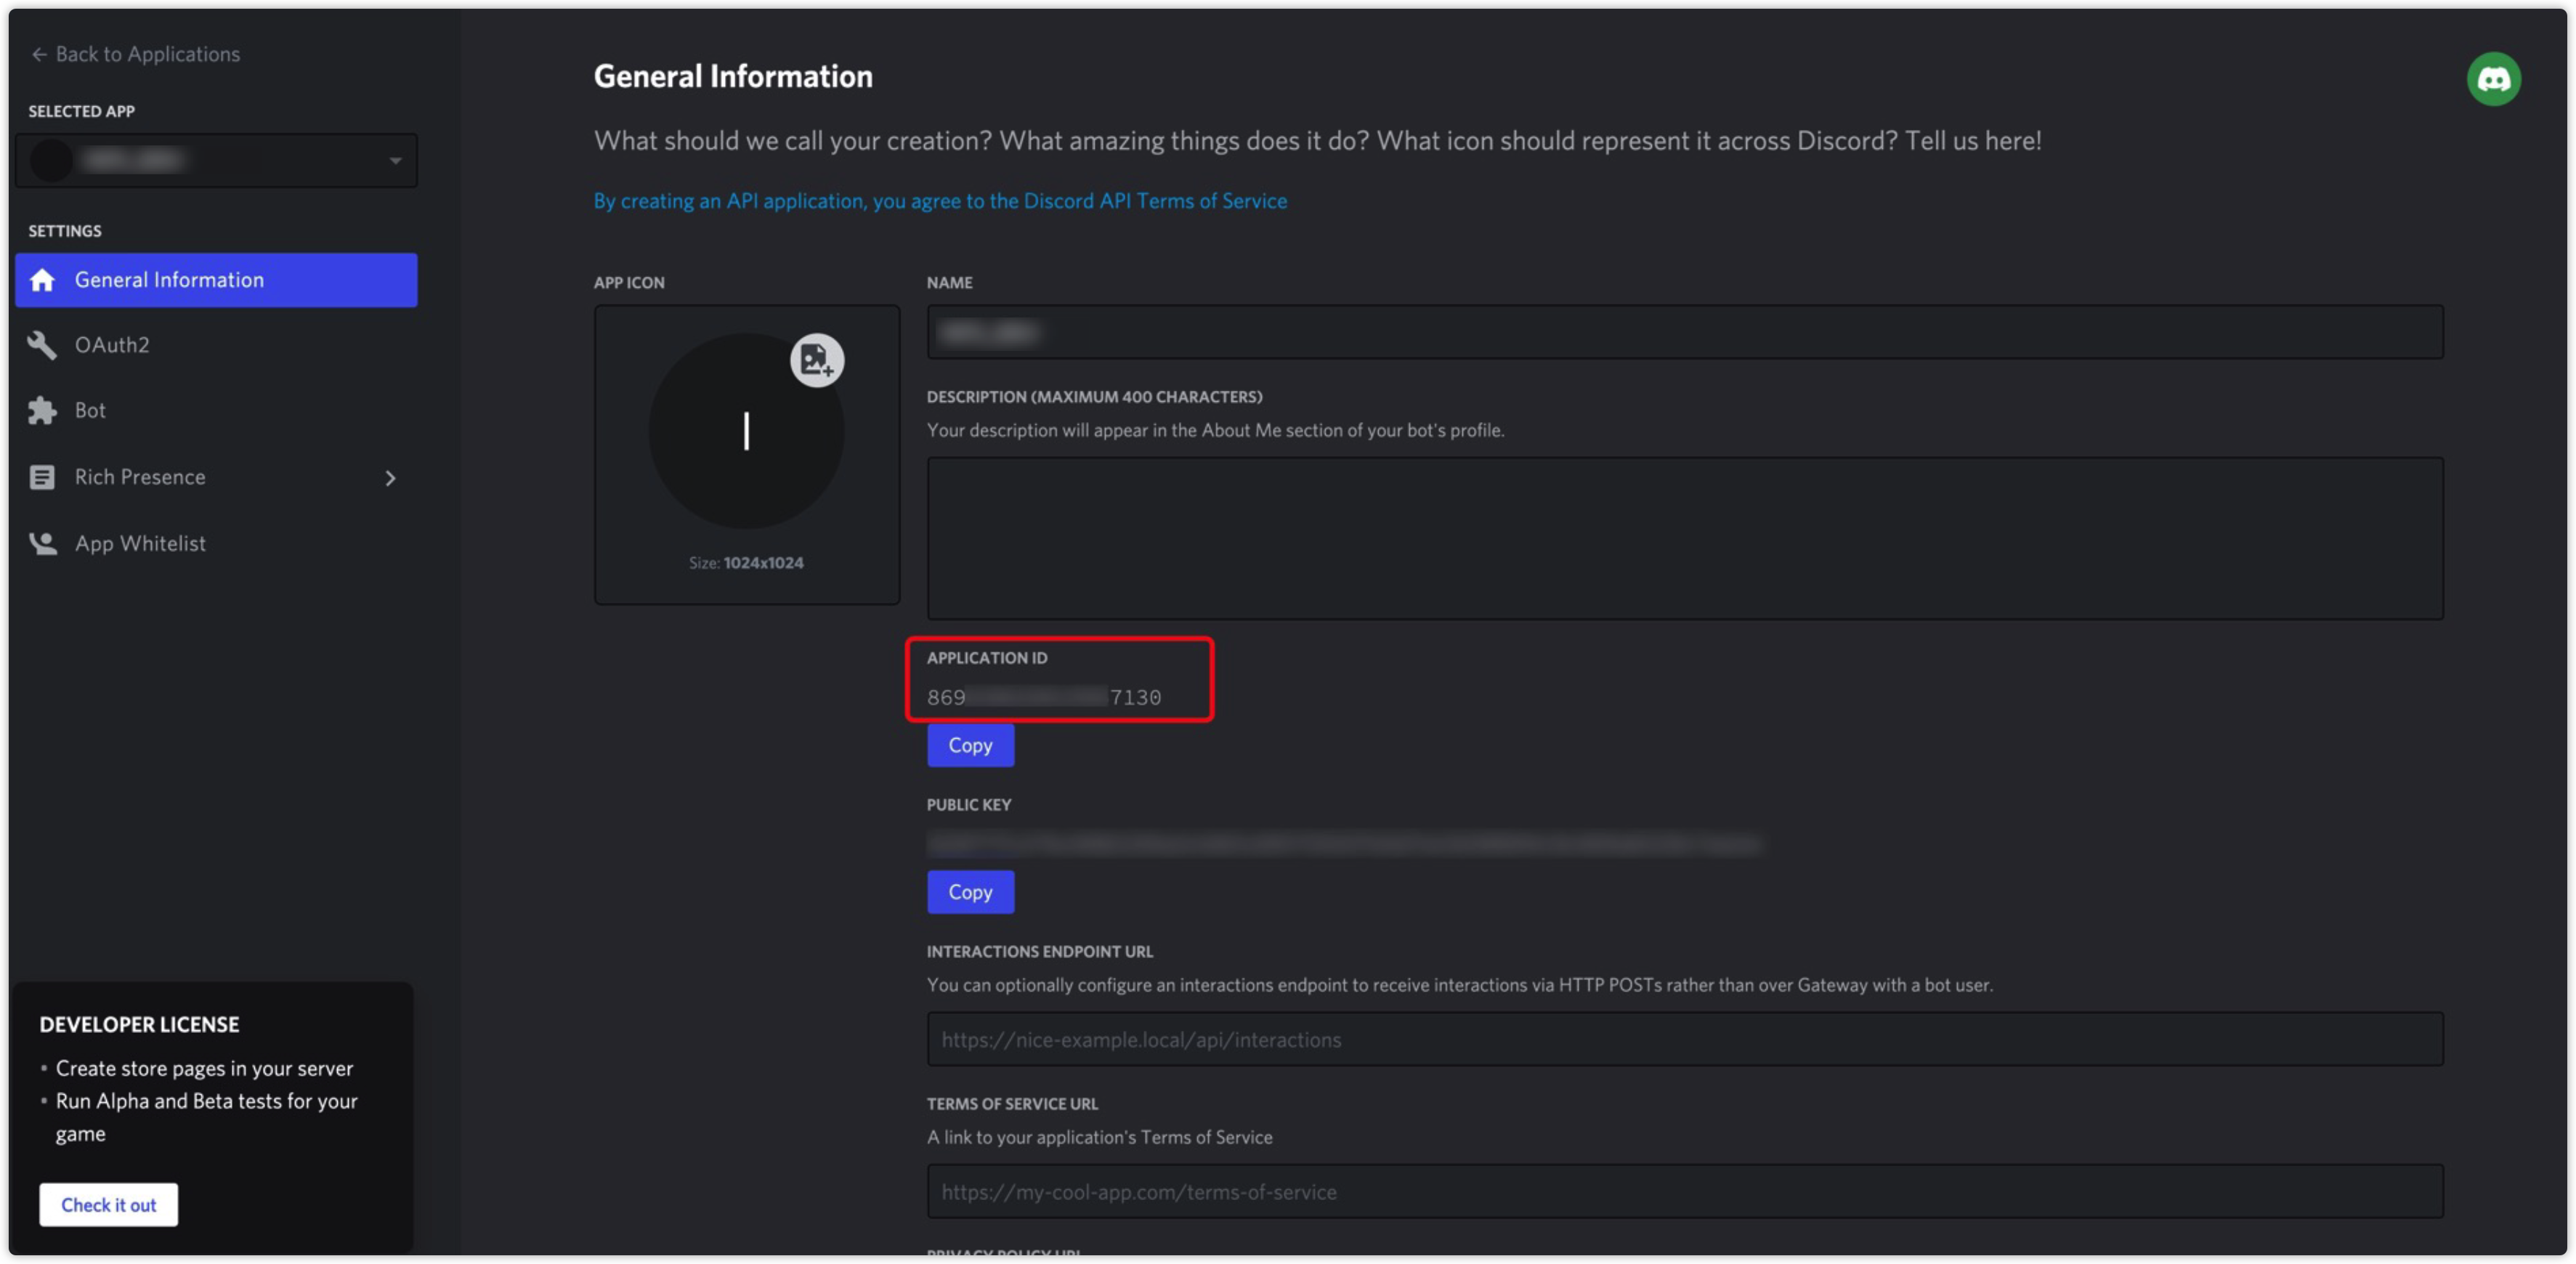
- From the General Information page, view the APPLICATION ID.
Users must configure the app ID in the INTLConfig.ini file.

2. Configure the app
The authentication feature on Player Network for Discord requires the identify scope from Discord. The social feature on Player Network requires the relationships.read and activities.write scope from Discord. The For more information, see OAuth2 Scopes.
-
Go to Discord Developer Platform.
-
On the Applications page, click the app to configure.
-
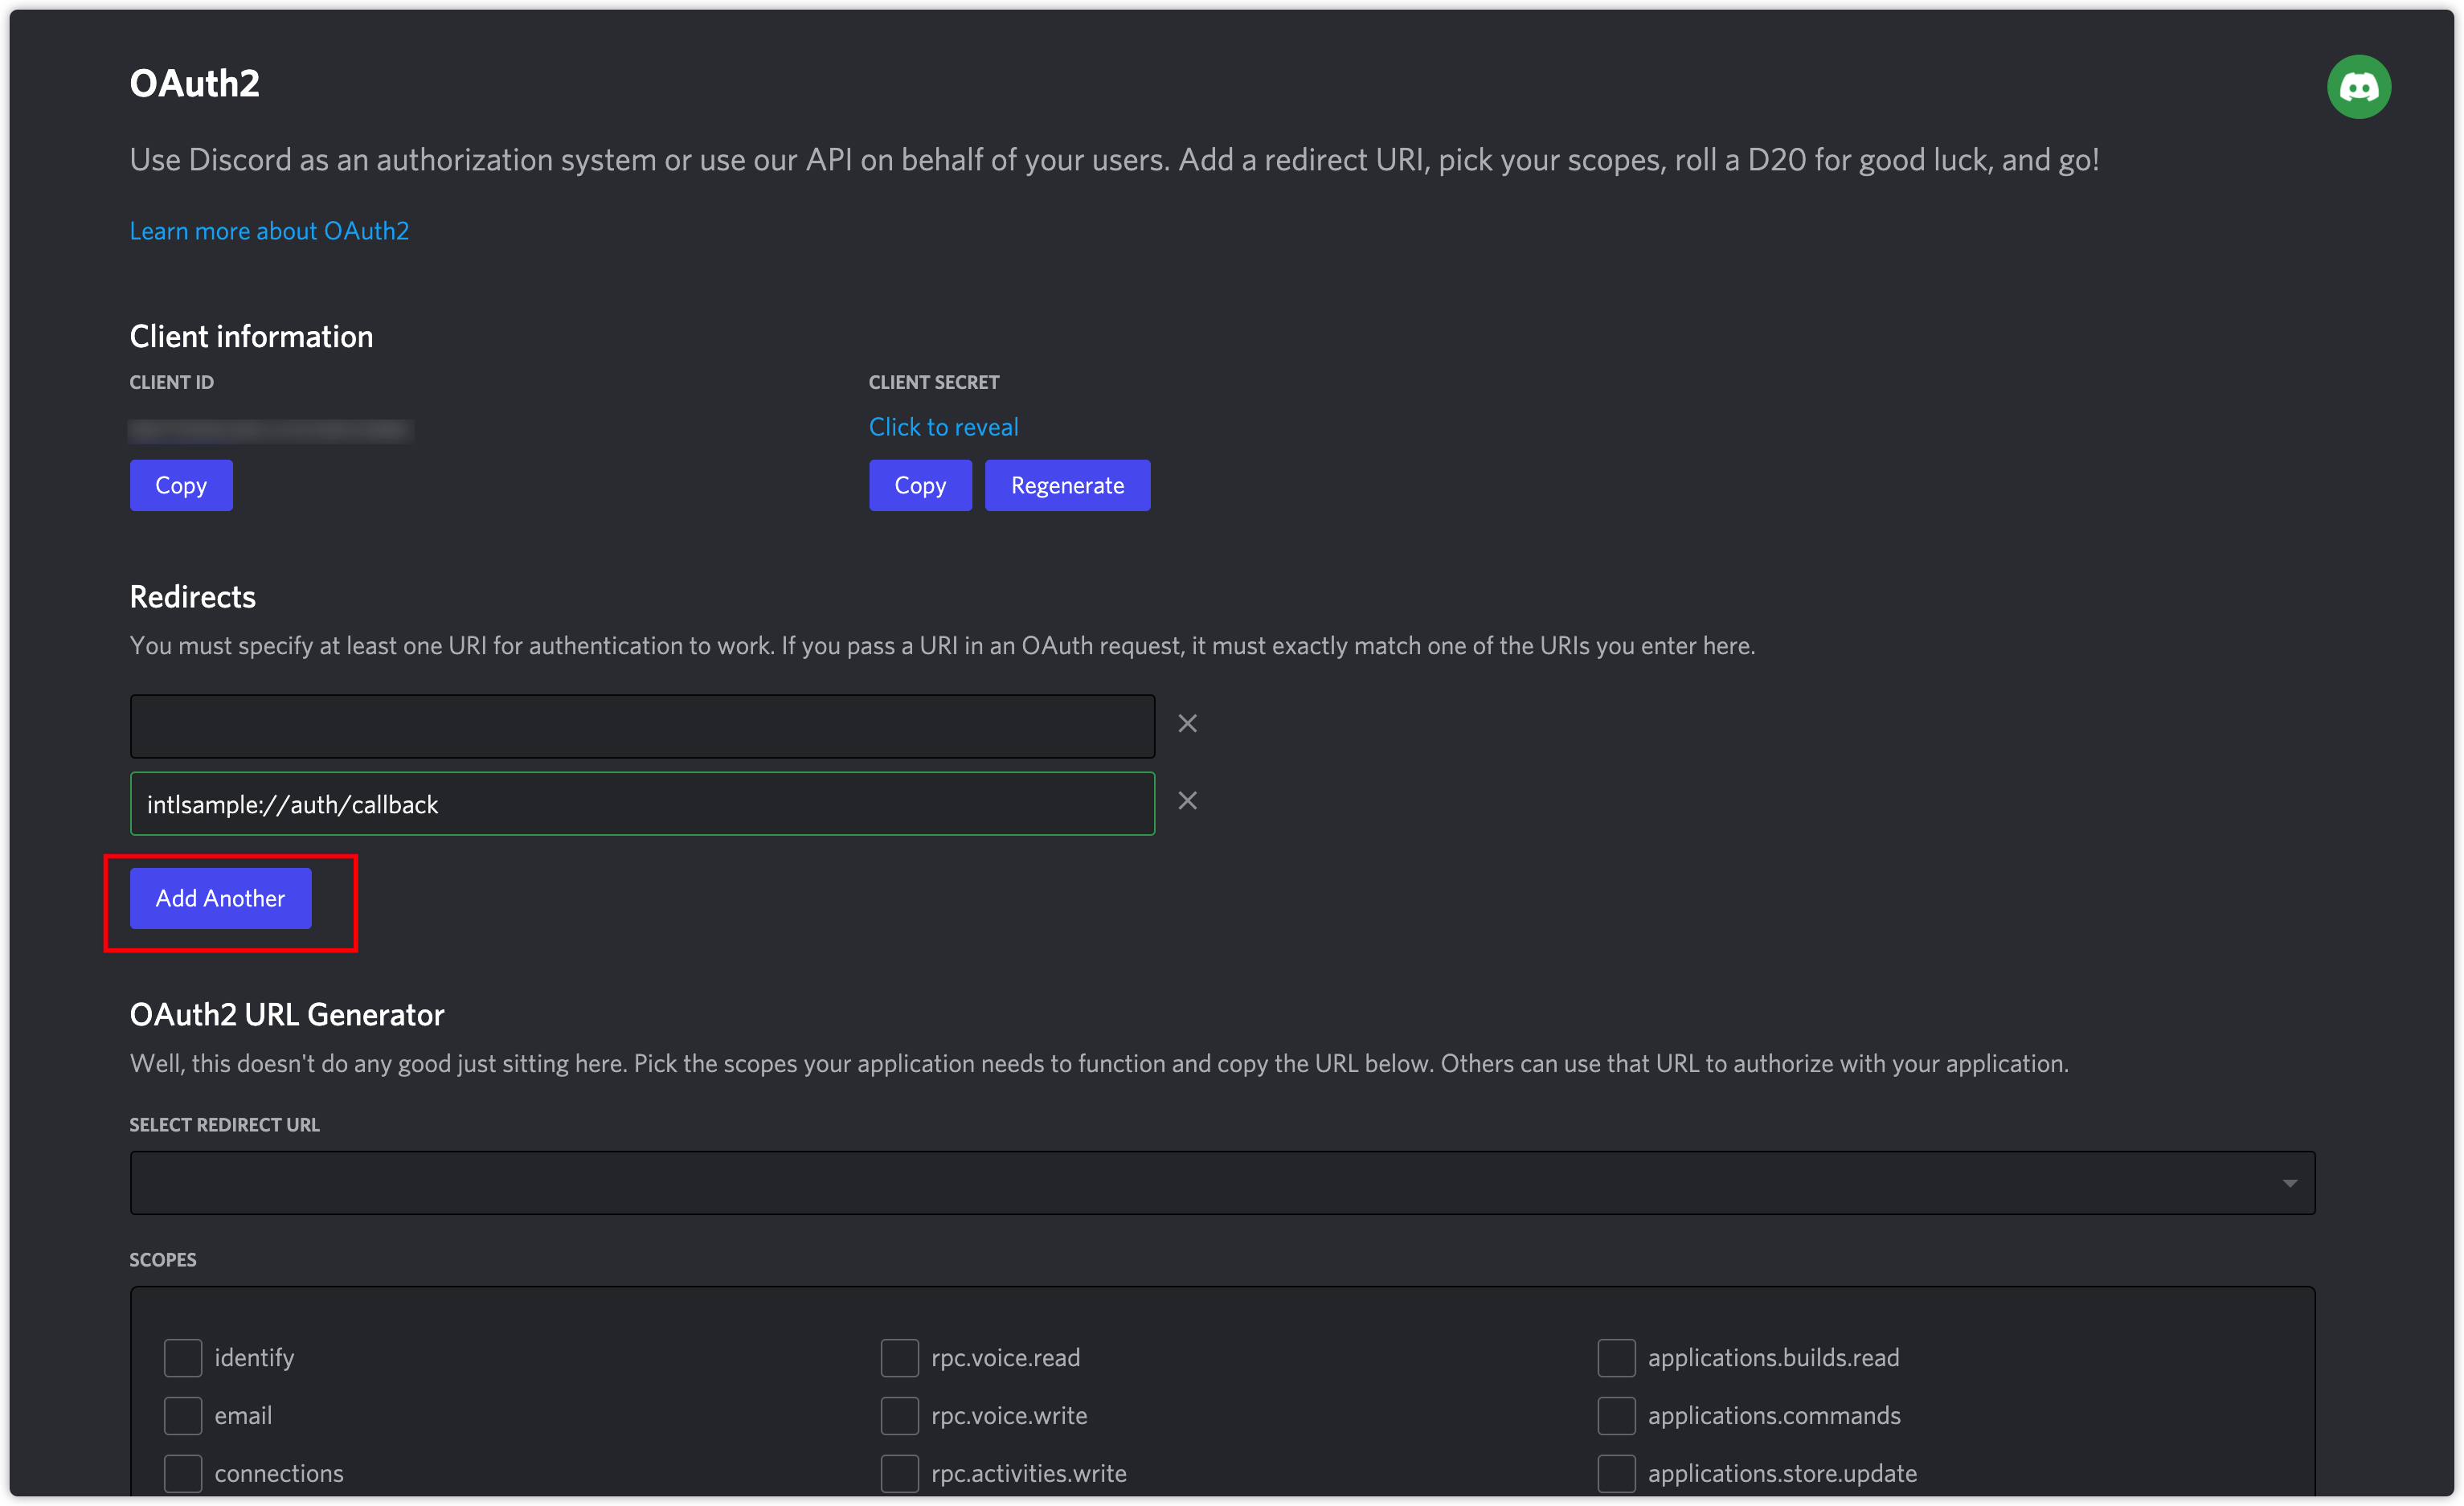
Click OAuth2 in the left side navigation bar and go to OAuth2 > General.
-
Under Redirects, fill in the below redirect URLs, which is used to receive callbacks after Discord authorization. Click Add Another to add more empty fields if required:
- https://common-web.intlgame.com/jssdk/discordlogincallback.html
- https://test-common-web.intlgame.com/jssdk/discordlogincallback.html
 note
noteFor multi-store packages:
A separate
REDIRECT_URL_SCHEMEis required to support multi-store packages. One app ID supports 10 Redirect URLs (about 4 multi-store packages). Apply for more app IDs if games require more than 4 multi-store packages. To use multiple app IDs, games need to configure multiple app IDs inINTLConfig.iniand register multiple Discord app on Player Network. -
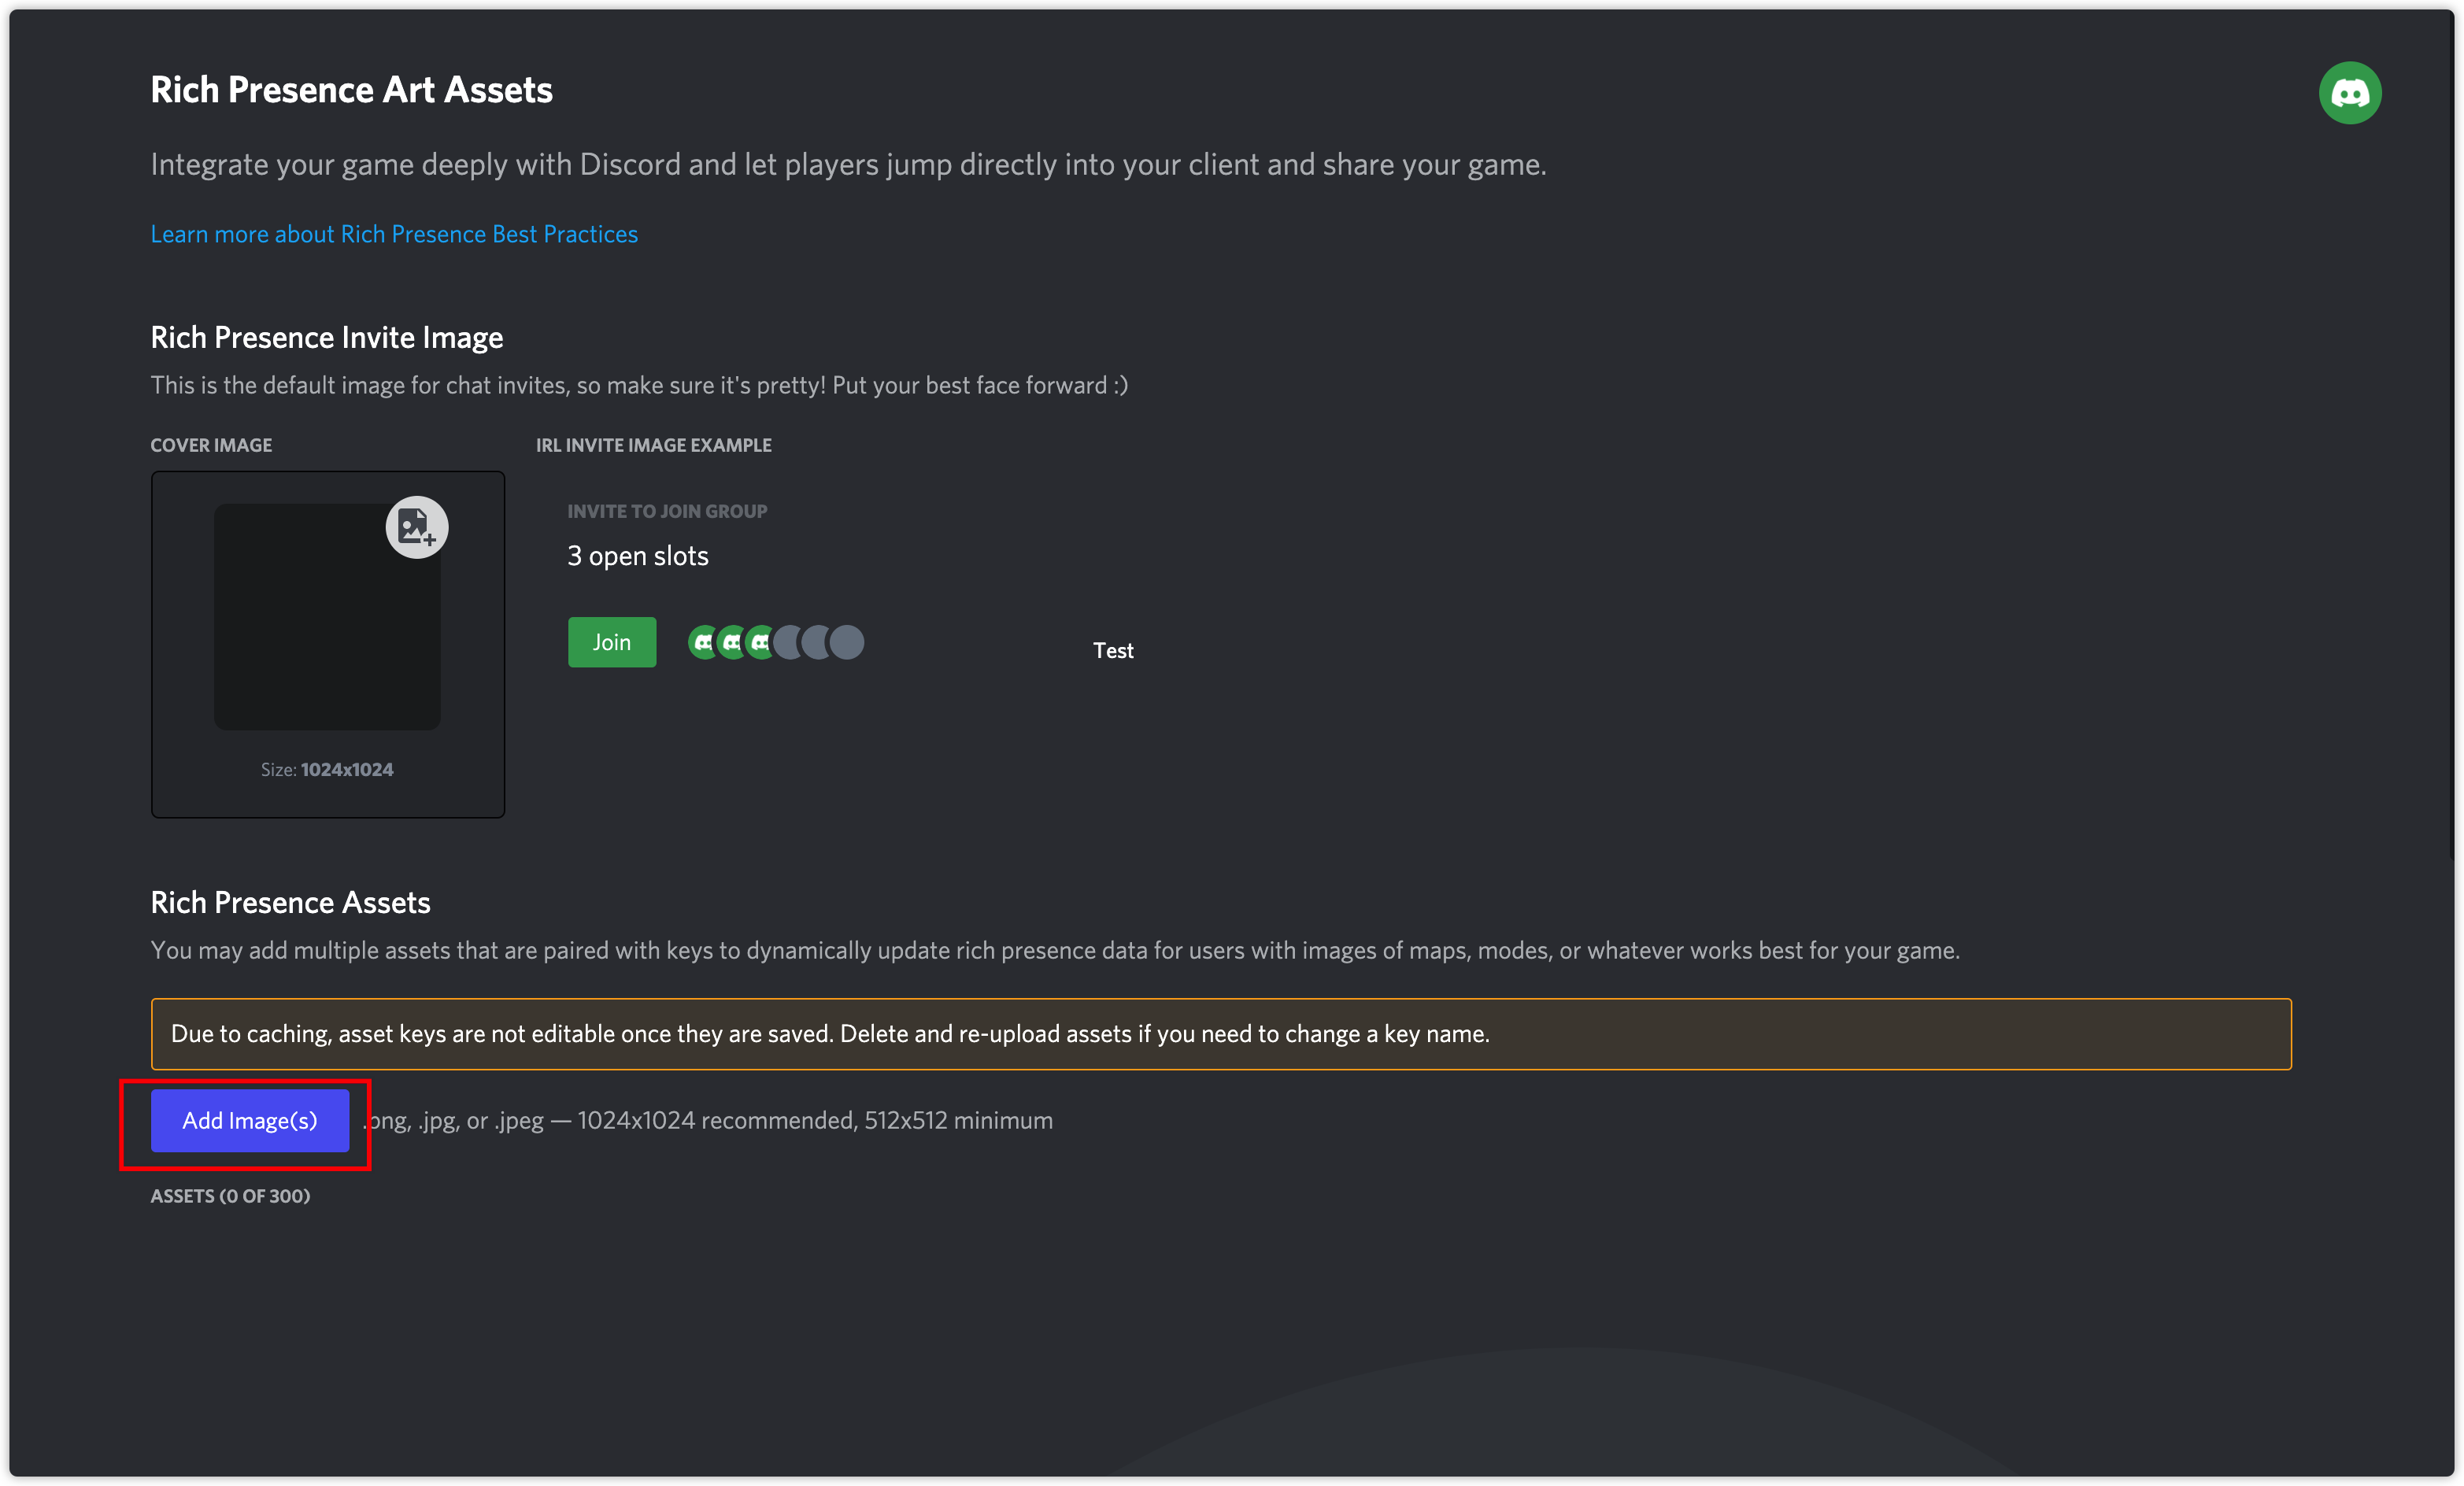
Click Rich Presence in the left side navigation bar and go to the Rich Presence Art Assets page.
-
Click Add Image(s) to configure the image resources of the app.
 info
infoAll image resources used in the app must be configured on this page, including cover photos for friend invitations.
- Create an account for Player Network Console.
- Create a new project for your game, or join an existing one.
- Download the SDK.
- Integrate the SDK.
- Add Discord as an authentication method for your project on Player Network Console.
Step 1: Configure the SDK for Discord login
Open the project's INTLConfig.ini:
[INTL environment]
# WARNING: You should change this URL to the production environment when you release your game.
INTL_URL = https://test.intlgame.com
GAME_ID = {INTL_GAME_ID}
SDK_KEY = {INTL_SDK_KEY}
[INTL Log]
LOG_LEVEL = 1
LOG_CONSOLE_OUTPUT_ENABLE = 1
LOG_FILE_OUTPUT_ENABLE = 1
LOG_ENCRYPT_ENABLE = 0
LOG_COMPRESS_ENABLE = 0

[Discord]
DISCORD_APP_ID = {INTL_DISCORD_APP_ID}
DISCORD_REDIRECT_URL = {INTL_DISCORD_REDIRECT_URL}
- Set the SDK backend environment to
INTL_URL = https://test.intlgame.com. - Replace
{INTL_GAME_ID}and{INTL_SDK_KEY}with theGAME_IDandSDK_KEYassigned by Player Network Console. - Set
LOG_LEVEL = 1,LOG_CONSOLE_OUTPUT_ENABLE = 1,LOG_FILE_OUTPUT_ENABLE = 1,LOG_ENCRYPT_ENABLE = 0, andLOG_COMPRESS_ENABLE = 0to output console logs and log files without encrypting or compressing the output. - Replace
{INTL_DISCORD_APP_ID}with the Discord App ID. - Replace
{INTL_DISCORD_REDIRECT_URL}with the Redirect URL configured in the developer platform.
Step 2: Add Discord login
Discord does not require an app installation before login. If the app has already been installed, open the app to log in. Otherwise, the web login page will open.
Discord login permission requires identify to be added. If the Discord sharing function is required, relationships.read,activities.write should be added.
-
Add an observer to handle authentication callbacks.
- Unity
- Unreal Engine
// Add callbacks
public void AddAuthObserver()
{
    INTLAPI.AddAuthResultObserver(OnAuthResultEvent);
}

// Remove callbacks
public void RemoveAuthObserver()
{
    INTLAPI.RemoveAuthResultObserver(OnAuthResultEvent);
}

// Process the INTLAuthResult callback
public void OnAuthResultEvent(INTLAuthResult ret)
{
    Debug.Log($"MethodID: {ret.MethodId}");

    string methodTag = "";
    if (authRet.MethodId == (int)INTLMethodID.INTL_AUTH_LOGIN)
    {
        methodTag = "Login";
    }
    else if (authRet.MethodId == (int)INTLMethodID.INTL_AUTH_BIND)
    {
        methodTag = "Bind";
    }
    else if (authRet.MethodId == (int)INTLMethodID.INTL_AUTH_AUTOLOGIN)
    {
        methodTag = "AutoLogin";
    }
    else if (authRet.MethodId == (int)INTLMethodID.INTL_AUTH_QUERY_USER_INFO)
    {
        methodTag = "QueryUserInfo";
    }
    else if (authRet.MethodId == (int)INTLMethodID.INTL_AUTH_GET_AUTH_RESULT)
    {
        methodTag = "GetAuthResult";
    }
}
C++ Event Handling (above v1.15)
//configure callback
FINTLAuthEvent authEvent;
authEvent.AddUObject(this, &OnAuthResult_Implementation);
UINTLSDKAPI::SetAuthResultObserver(authEvent);
// Remove callbacks
UINTLSDKAPI::GetAuthResultObserver().Clear();
void OnAuthResult_Implementation(FINTLAuthResult ret)
{
UE_LOG(LogTemp, Warning, TEXT("MethodID: %d"), ret.MethodId);
}Unreal Event Handling
void OnAuthResult_Implementation(FINTLAuthResult ret)
{
    UE_LOG(LogTemp, Warning, TEXT("MethodID: %d"), ret.MethodId);
} -
Call the
AutoLoginmethod.- Unity
- Unreal Engine
INTLAPI.AutoLogin();UINTLSDKAPI::AutoLogin(); -
Call the
Loginmethod to ask for user input if auto-login fails.- Unity
- Unreal Engine
INTLAPI.Login(INTLChannel.Discord, "identify", "");
INTLAPI.Login(INTLChannel.Discord, "identify,relationships.read,activities.write", ""); //Friend functionsUINTLSDKAPI::Login(EINTLLoginChannel::Discord, "identify", "");
UINTLSDKAPI::Login(EINTLLoginChannel::Discord, "identify,relationships.read,activities.write", ""); //Friend functions -
Sync client authentication state with the game's backend and wait for the final authentication result.
Step 3: Test the login function
Search for the keyword "AuthResult" in the Player Network SDK logs to verify if the correct channel name and OpenID are returned. If they are, it indicates a successful configuration and the login function has been added successfully.