Configure Third-party Channels
For projects that have opted to not integrate LI PASS, the configuration of third-party channels can be completed independently. Follow the below procedures to configure third-party channel login for your project.
If LI PASS has been integrated, we recommend following the procedures from Configure LI PASS to configure third-party channels instead.
Create configurations
-
Log in to the Player Network Console, then select Configure Channels under Account Configurations in the left sidebar.
-
Under Configure Channels, click Start.
 note
noteIf you have already edited/released third-party channels through LI PASS configuration, this page will display the configured third-party channels. In this case, you can click Add Configuration to configure third-party channels.
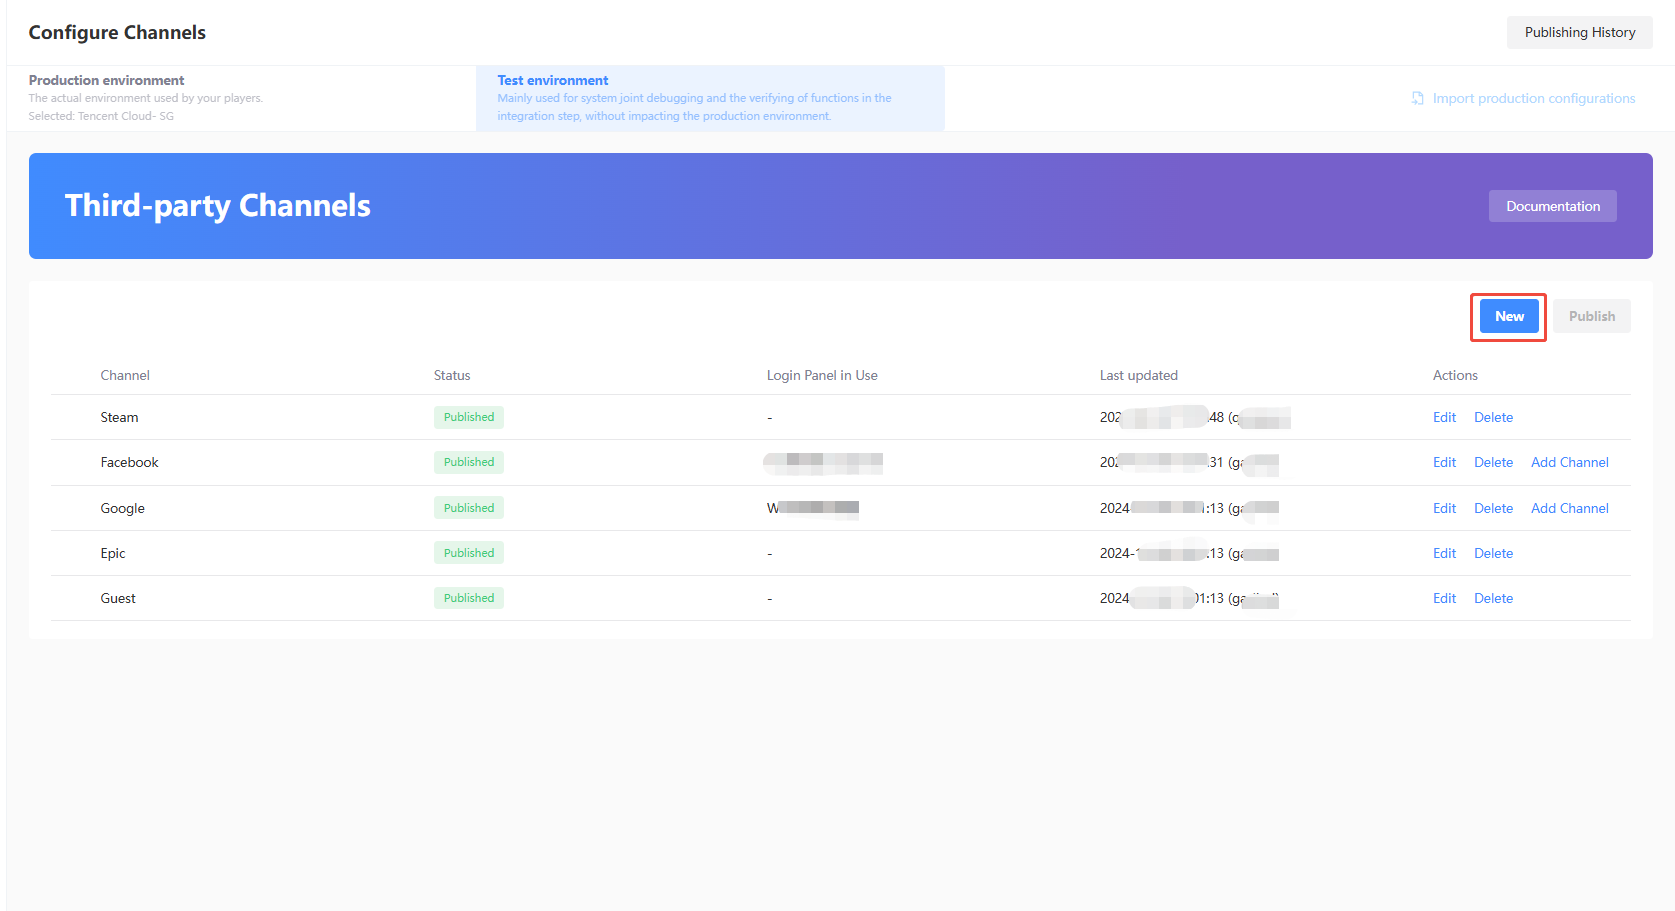
-
Select the channel to be newly created from the channel list.
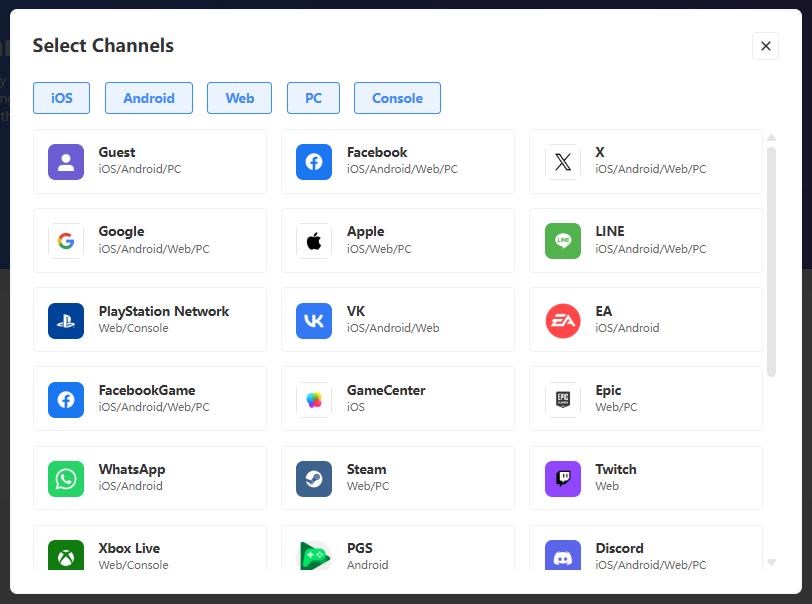
-
Complete the required fields using information that can be found from the management platform of the respective channel, then click Save. For a list of the information required for each channel, see Channel information.
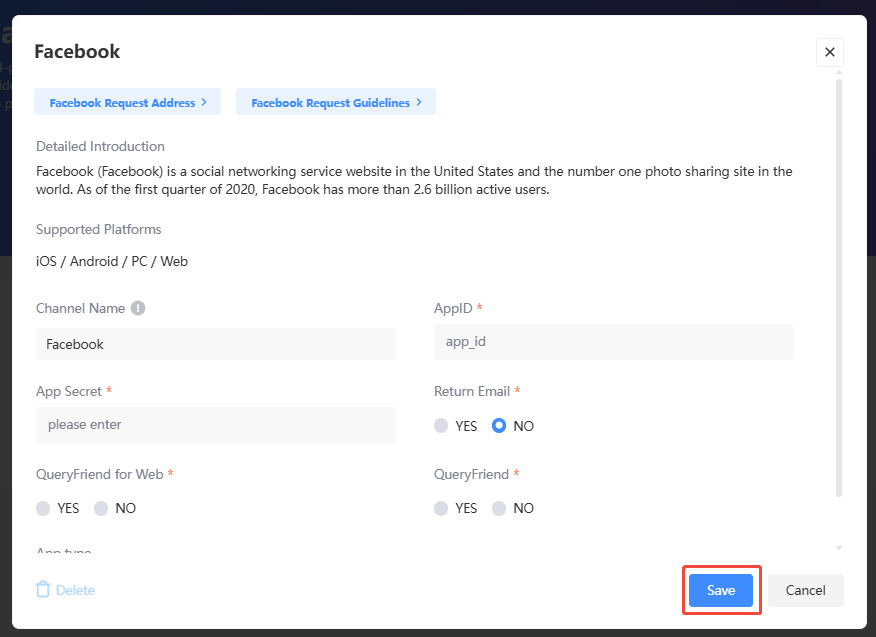
Edit configurations
-
Log in to the Player Network Console, then select Configure Channels under Account Configurations in the left sidebar.
-
Select the channel to be edited and click Edit.
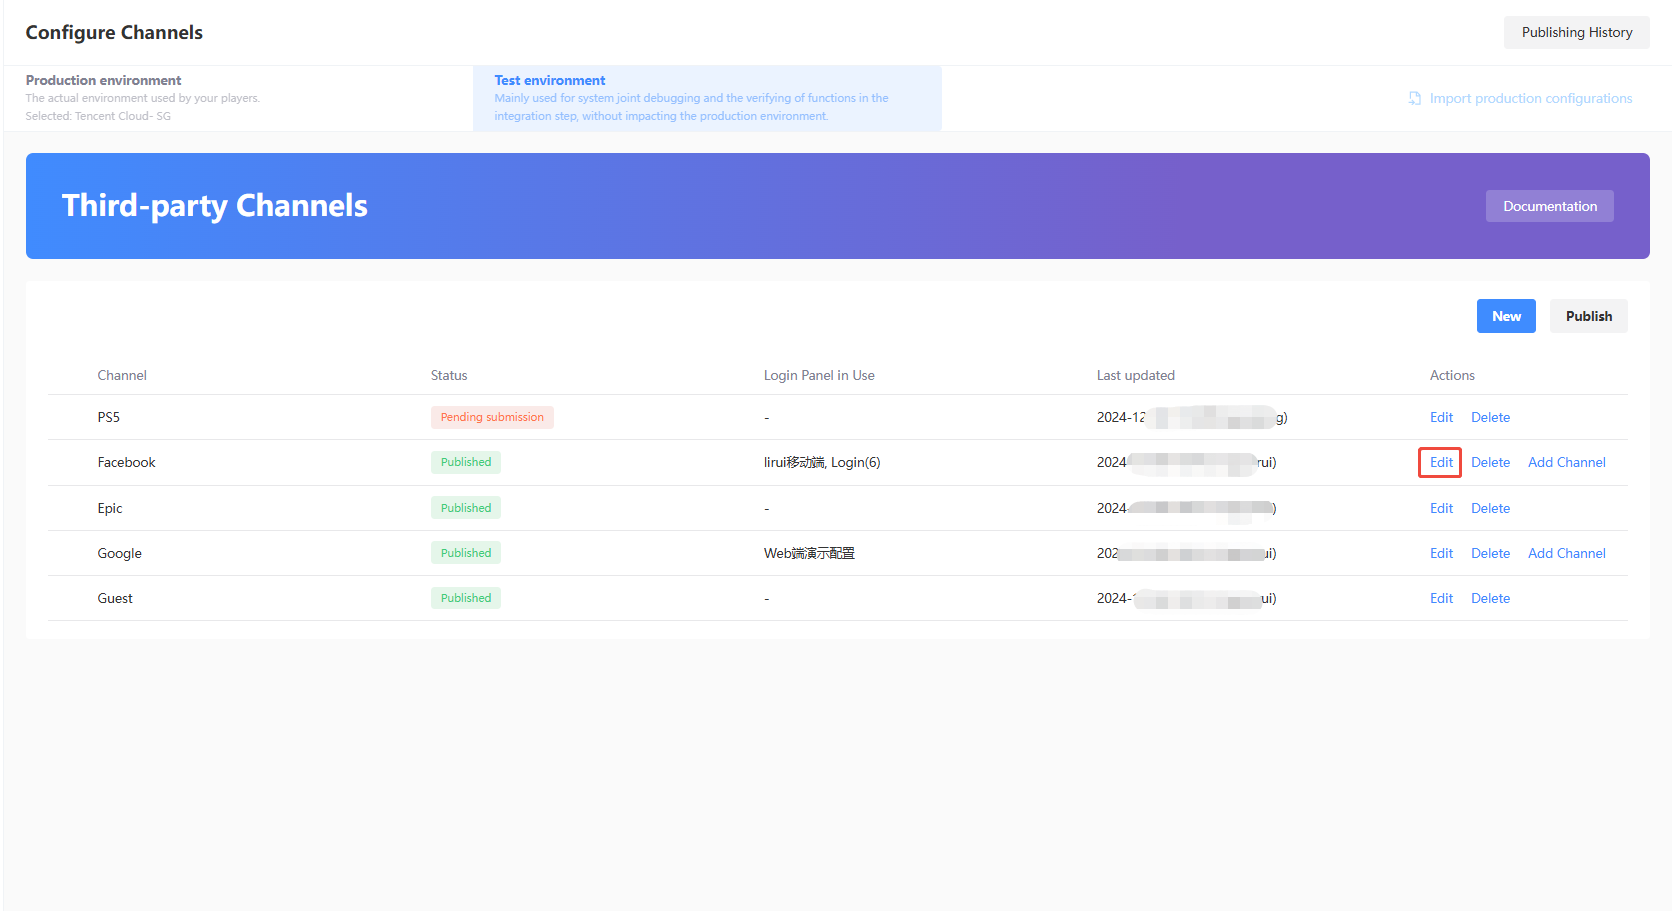
-
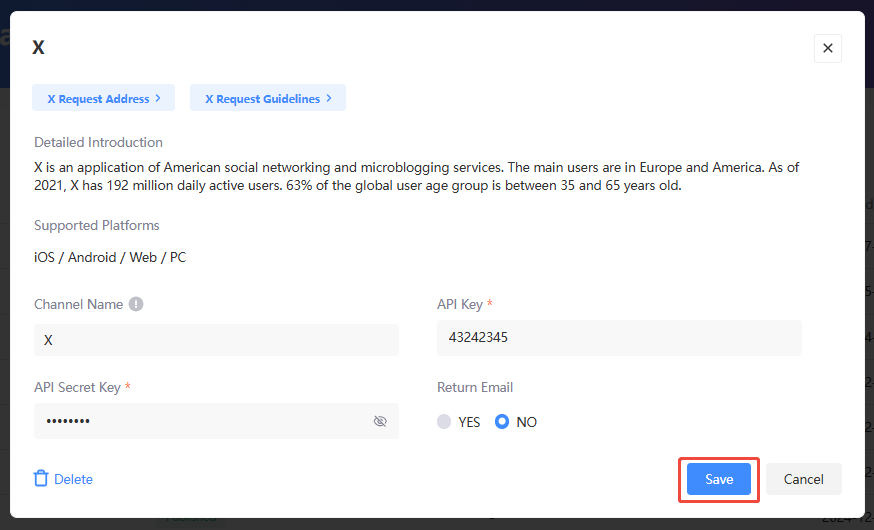
Modify the field content and click Save.
- App Key: APP ID from Twitter.
- App Secret Key: API Key Secret from Twitter.
- Return Email: Whether to return the player's login email.
Delete configurations
-
Log in to the Player Network Console, then select Configure Channels under Account Configurations in the left sidebar.
-
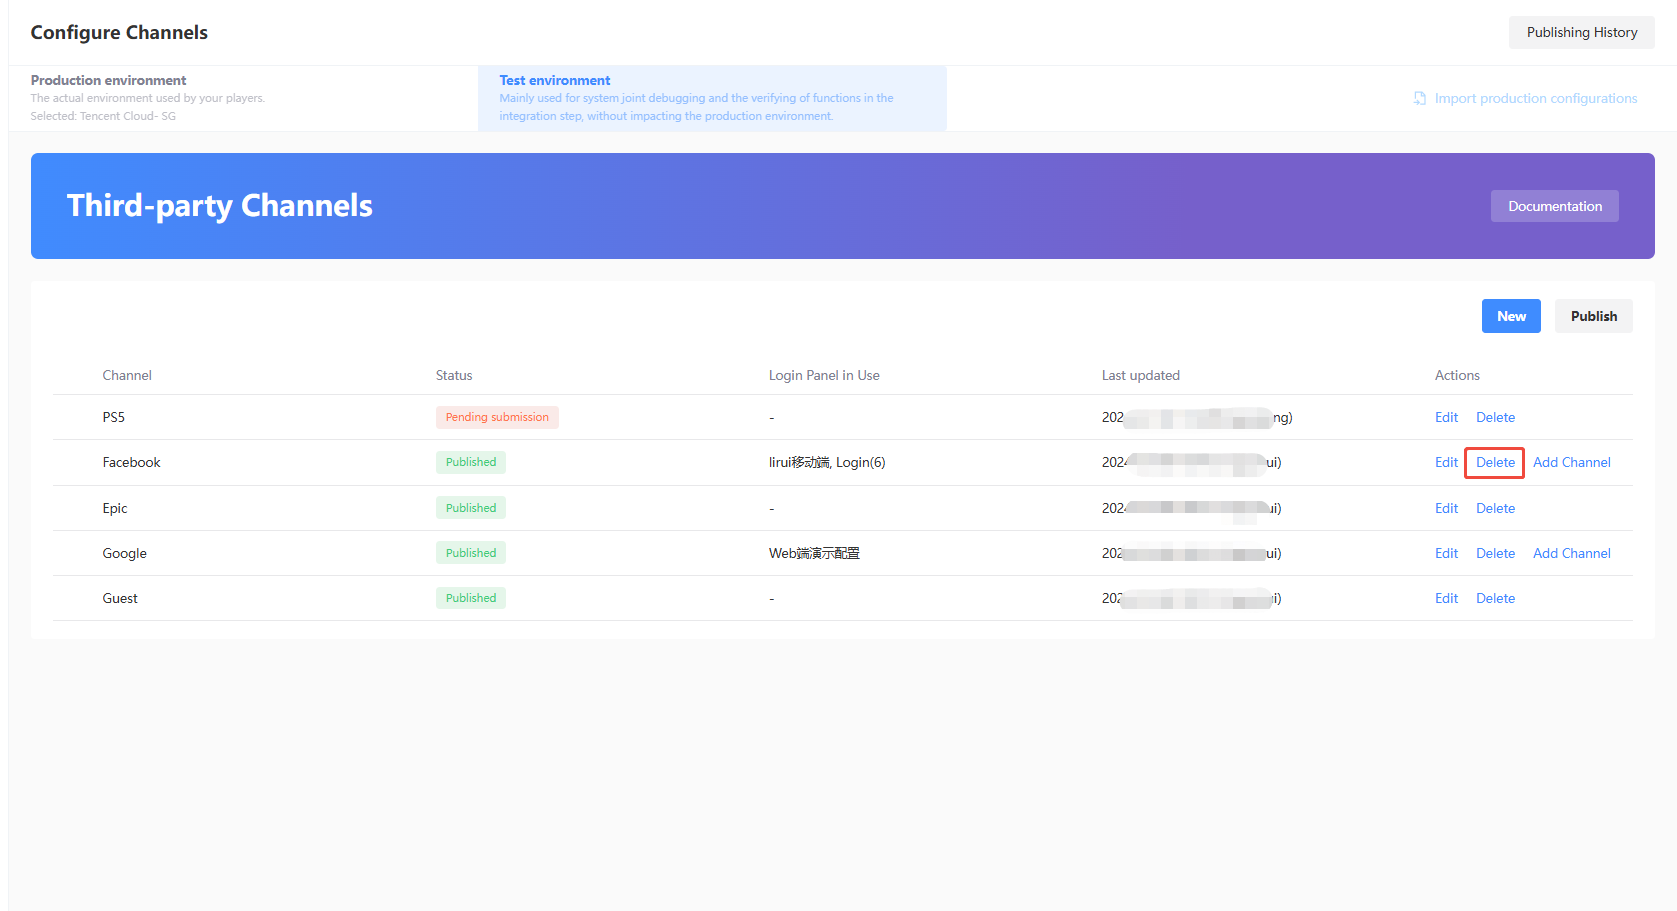
Select the third-party channel configuration to be deleted and click Delete.
-
On the Configuration To Be Published page, verify the configurations to be deleted.

Add sub-channels
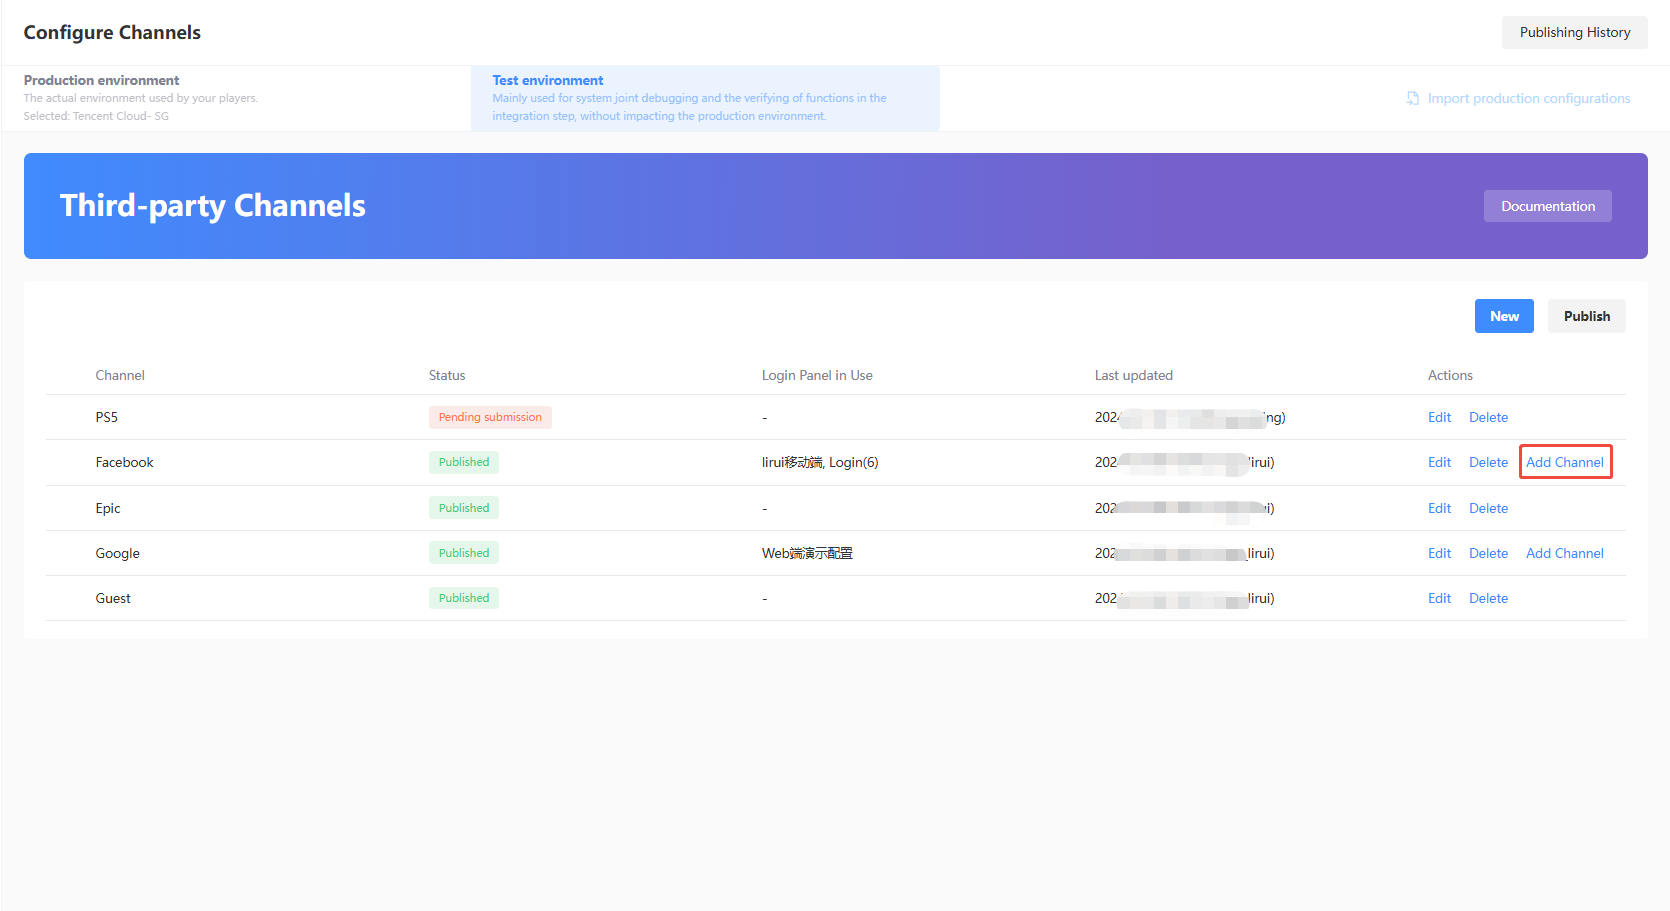
Certain third-party channels have support for sub-channel configurations, which can be used for apps that are released in different regions or publishing platforms. For supported third-party channels, a clickable Add Channel text button will be visible on the right.
-
Log in to the Player Network Console, then select Configure Channels under Account Configurations in the left sidebar.
-
Click Add Channel.
-
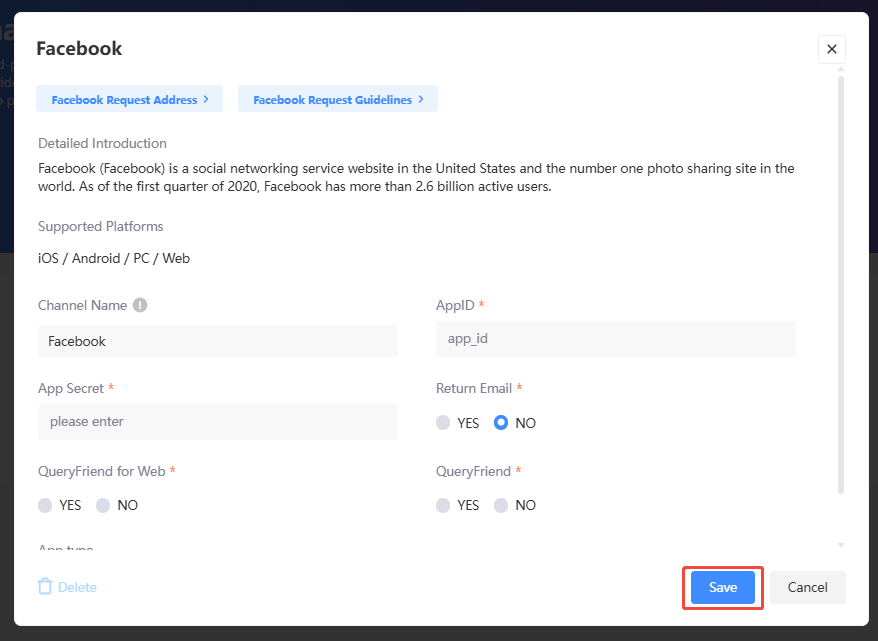
Complete the required fields, then click Save.
- AppID: App ID from Facebook.
- App Secret: App secret from Facebook.
- App Type: App type of your app, only None and Gaming Services are supported.
Publish configurations
On the Configuration To Be Published page, details about completed third-party configurations are displayed, and configurations that have yet to be published can be published.
-
Log in to the Player Network Console, then select Configure Channels under Account Configurations in the left sidebar.
-
Click Publish.
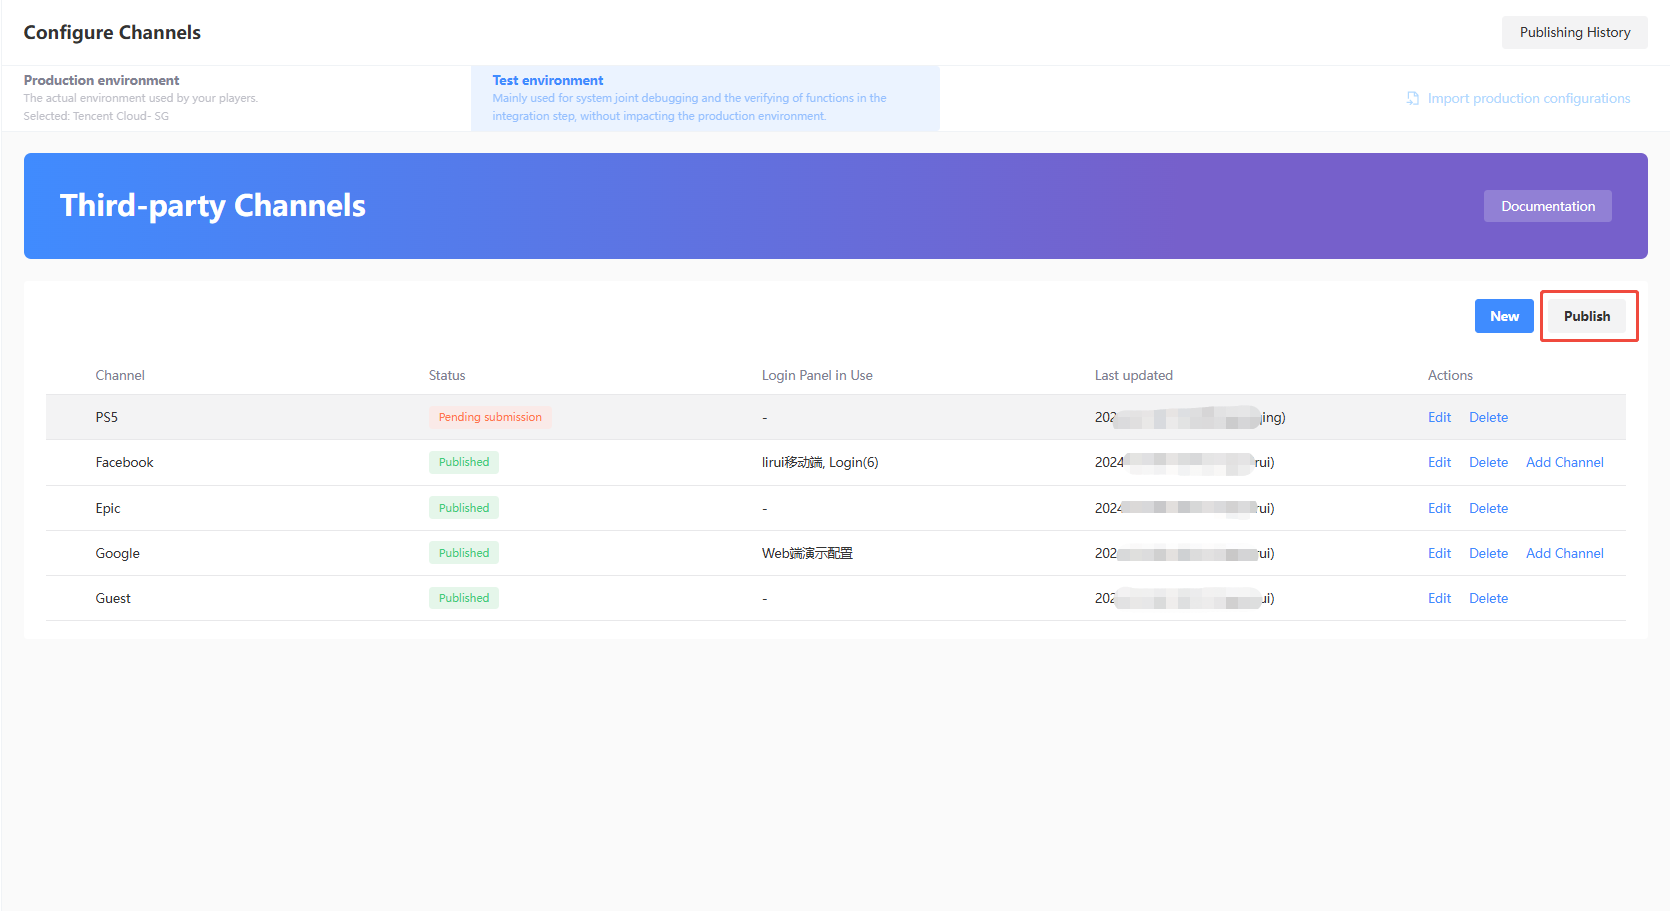
-
On the Configuration To Be Published page, verify the configurations to be published.
 note
noteThe parameters highlighted in red need special attention. They are the differences between the content to be released and the real-time configuration of the current environment.
-
If all configurations are correct, select the channels to be published, then click the button located at the bottom left of the page.
- Test environment: Click Publish to Test Environment to publish the selected configurations to the test environment.
- Production environment: Click Submit Production Environment Application, and the selected configurations will be applied automatically to the production environment after being approved by a reviewer.
As manual review is required, the approval process for the production environment is likely to take between 3 to 4 hours. To expedite the approval, reach out to the Player Network representative.
noteOn the Configuration To Be Published page, if configurations with the "To Be Published" or "In review" status are both present, a configuration will have to be approved or withdrawn first before new configurations can be submitted. Click Withdraw Release Application to withdraw the application.
Channel information
When creating third-party channel configurations, additional information obtained from the channel is required, which is indicated by an asterisk (*) symbol in Player Network Console.
To better manage and identify duplicate third-party channels, enter a Channel Name for your configuration.
Apple
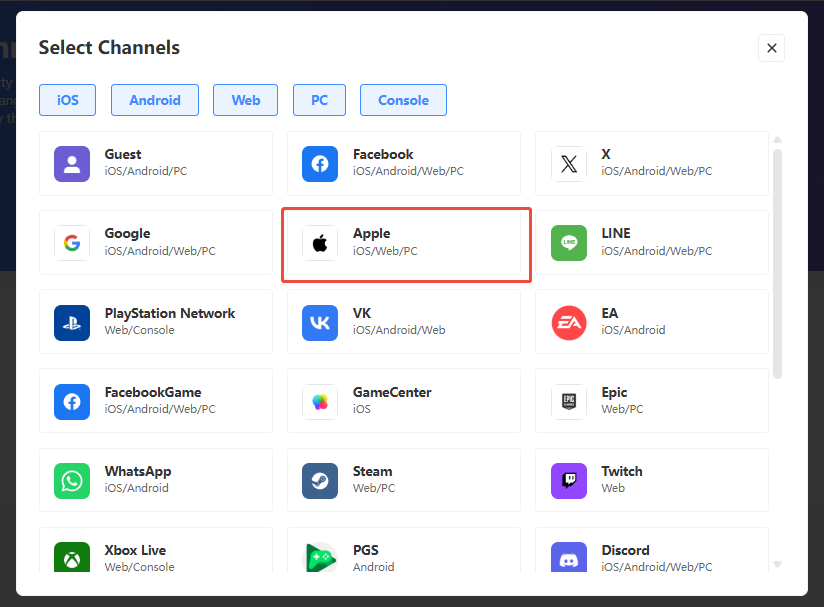
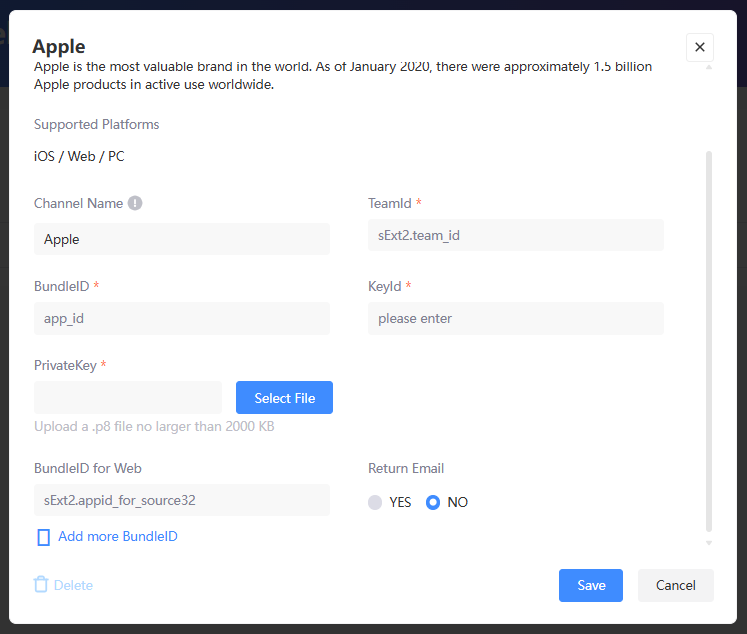
- TeamId:
Team IDfrom Apple - BundleID:
Bundle IDfrom Apple - KeyId:
Key IDfrom Apple - PrivateKey: Upload the
.p8private key file from Apple - BundleID for Web:
Identifierfrom Apple
Click Add more BundleID for additional BundleIDs for use in various web scenarios - Return Email: Whether to return the player's login email
For more information about how to obtain the parameters, see iOS Prerequisites.
Discord
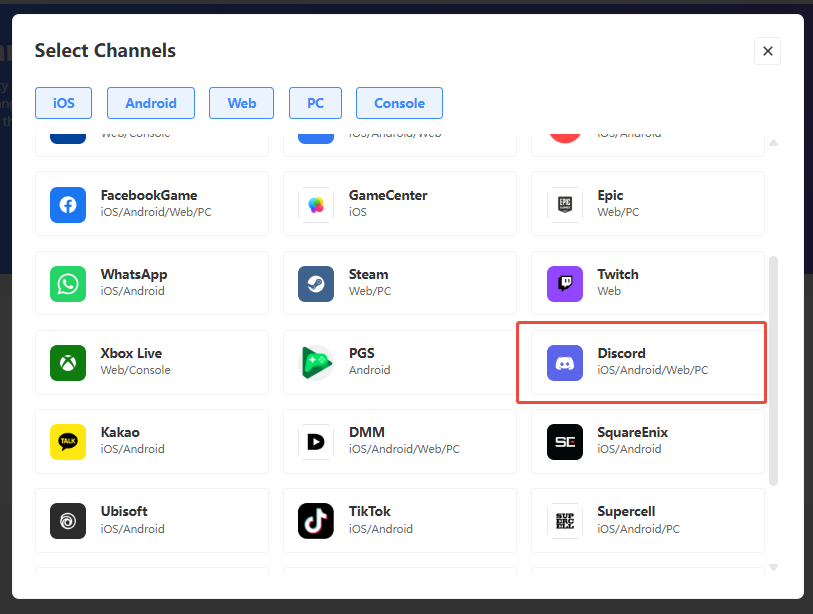
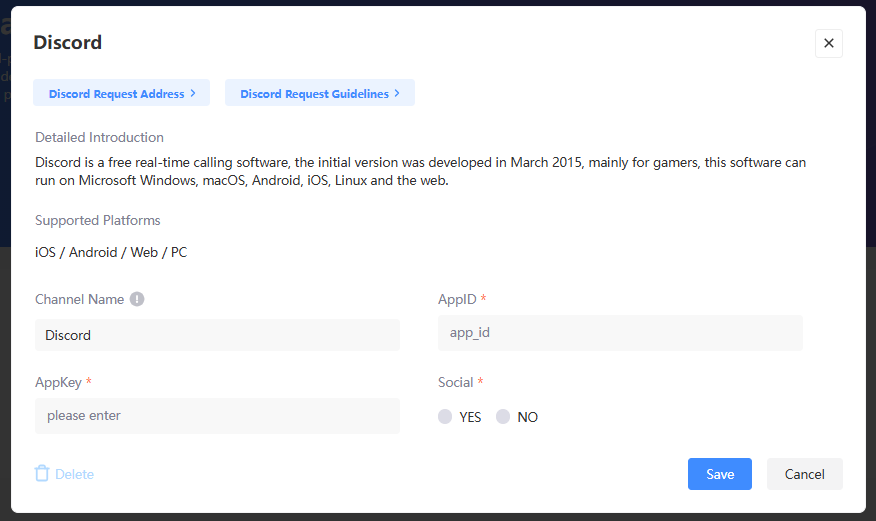
- AppID:
APPLICATION IDfrom Discord - AppKey:
CLIENT SECRETfrom Discord - Social:Enable if needed,, see Discord Social SDK for detailed instructions
DMM
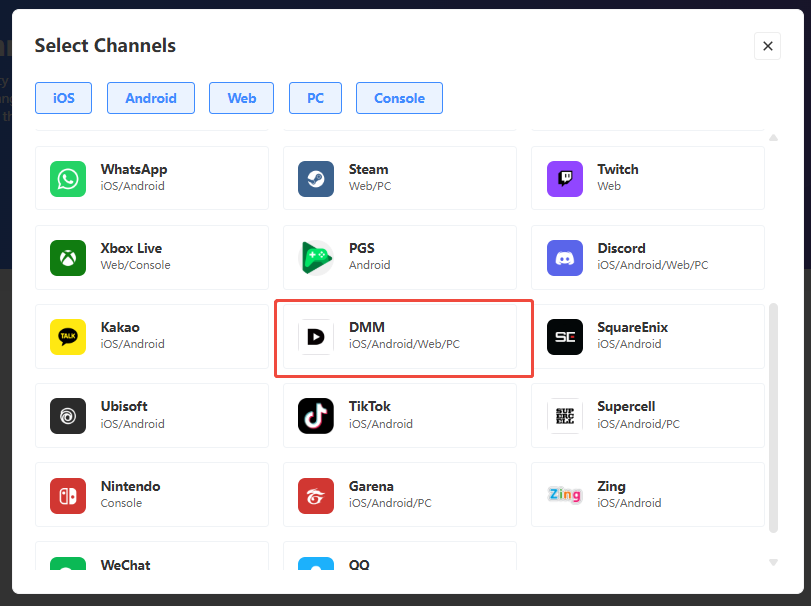
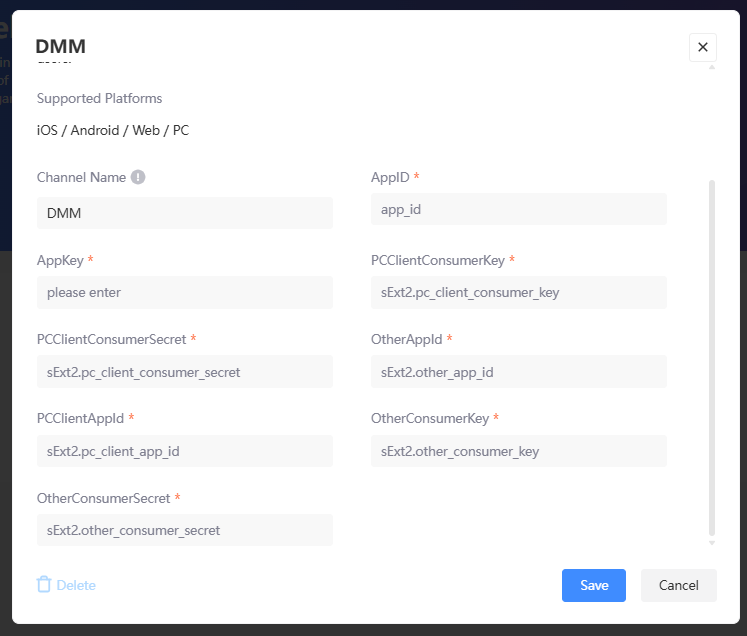
- AppID:
AppIDfrom DMM - AppKey:
AppKeyfrom DMM - PCClientConsumerkey:
PCClientConsumerkeyfrom DMM - PCClientConsumerSecret:
PCClientConsumerSecretfrom DMM - OtherAppld:
OtherAppldfrom DMM - PCClientAppld:
PCClientAppldfrom DMM - OtherConsumerkey:
DMM Consumer Keyfrom DMM - OtherConsumerSecret:
DMM Consumer Secretfrom DMM
EA
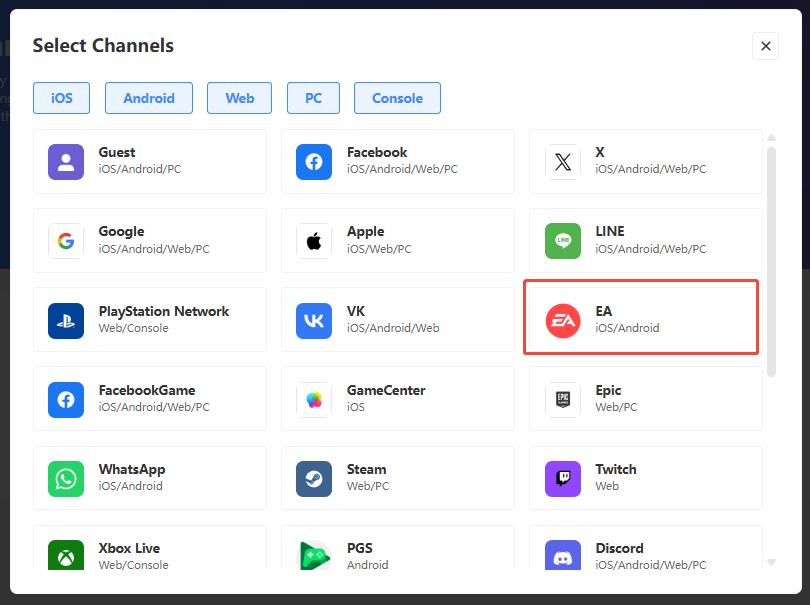
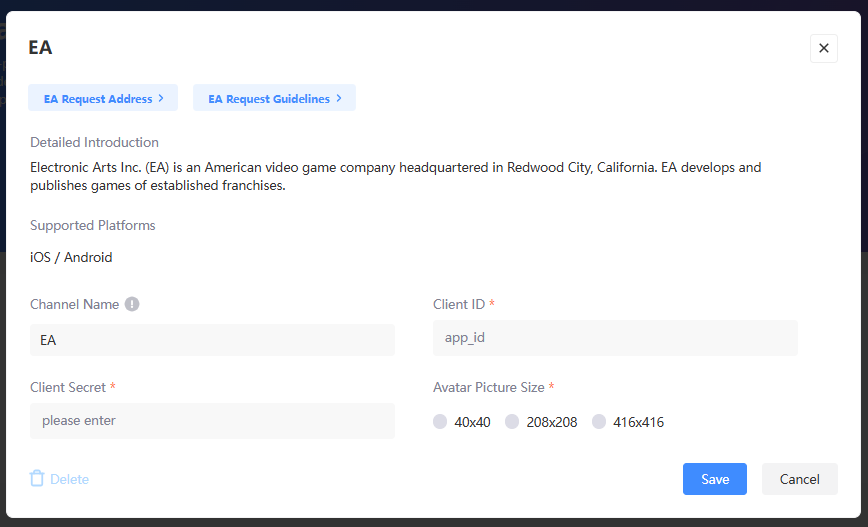
- Client ID:
app_idfrom EA - Client Secret:
Client Secretfrom EA - Avatar Picture Size: Select size of the image
Epic
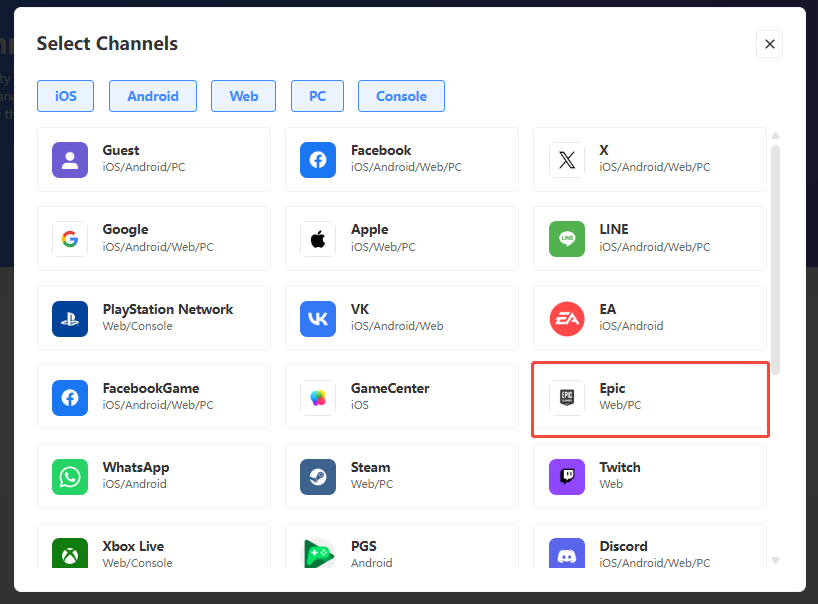
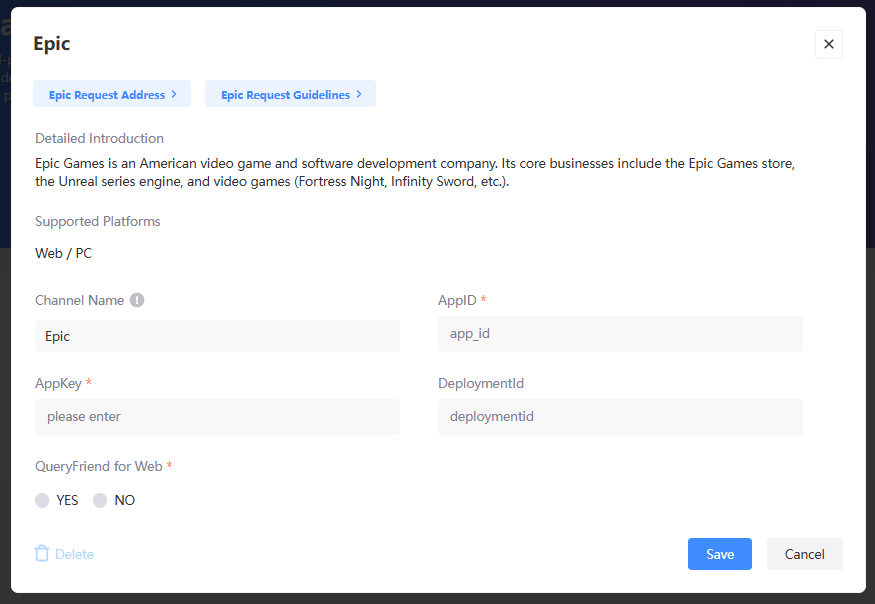
- AppID:
Client IDfrom Epic - AppKey:
Client Secretfrom Epic - DeploymentId:
Deployment IDfrom Epic, required to initialize the SDK and is configured to access product session data - QueryFriend for Web: For Web, whether to obtain the player's Epic friend list
Facebook
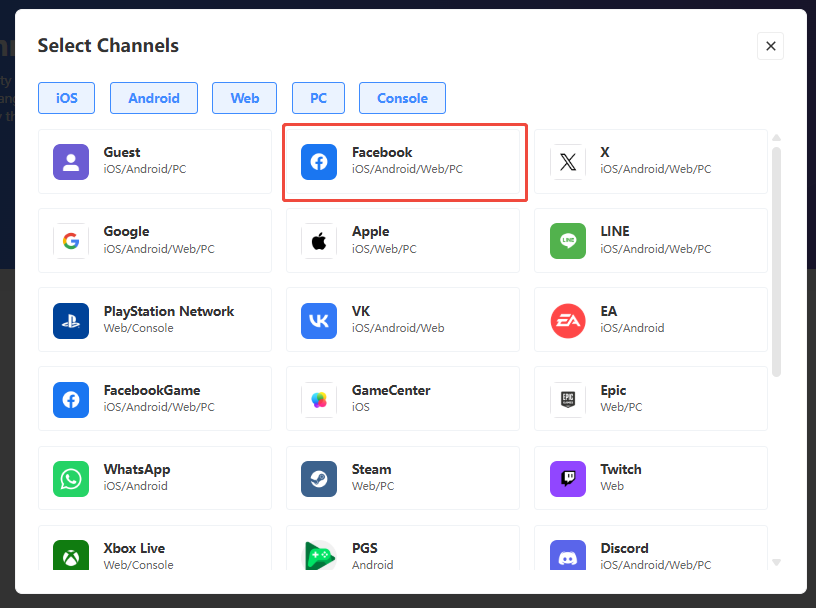
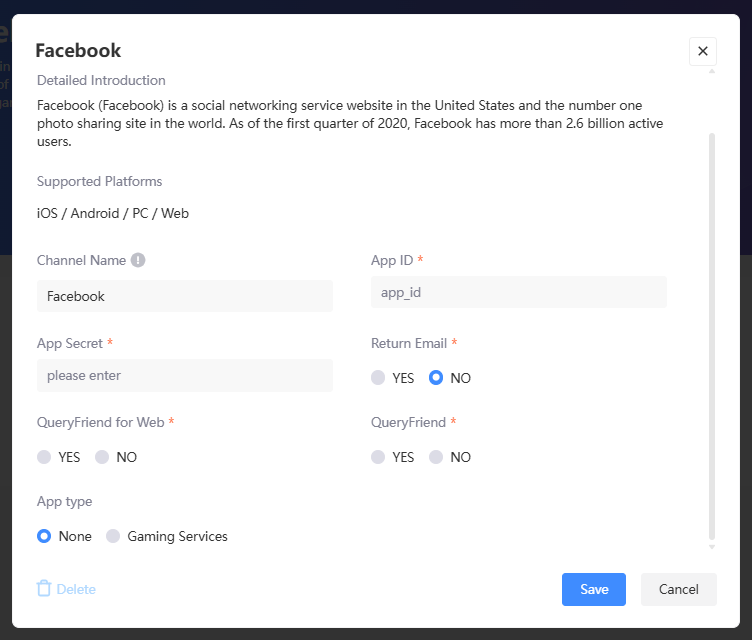
- AppID:
App IDfrom Facebook - App Secret:
App secretfrom Facebook - Return Email: Whether to return the player's login email
- QueryFriend for Web: For Web, whether to obtain the player's Facebook friend list
- QueryFriend: Whether to obtain the player's Facebook friend list
- App type: App type of your app, can only select between None and Gaming Services
FacebookGame
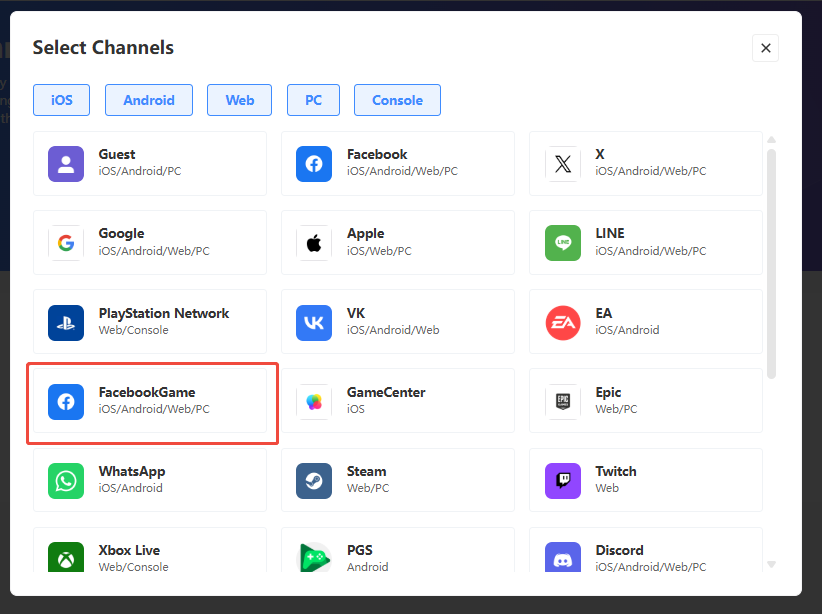
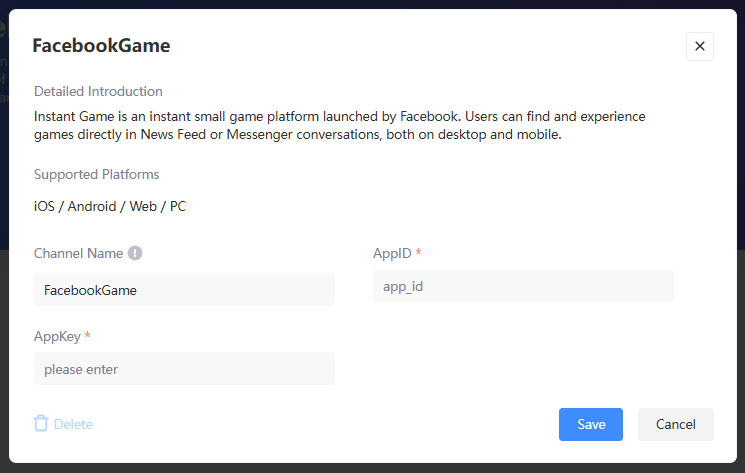
- AppID:
AppIDfrom FacebookGame - AppKey:
AppKeyfrom FacebookGame
Garena
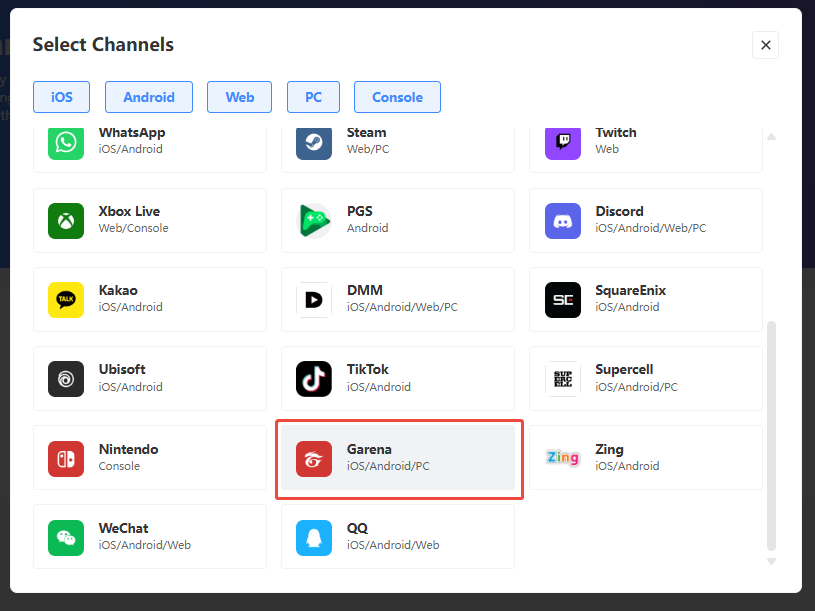
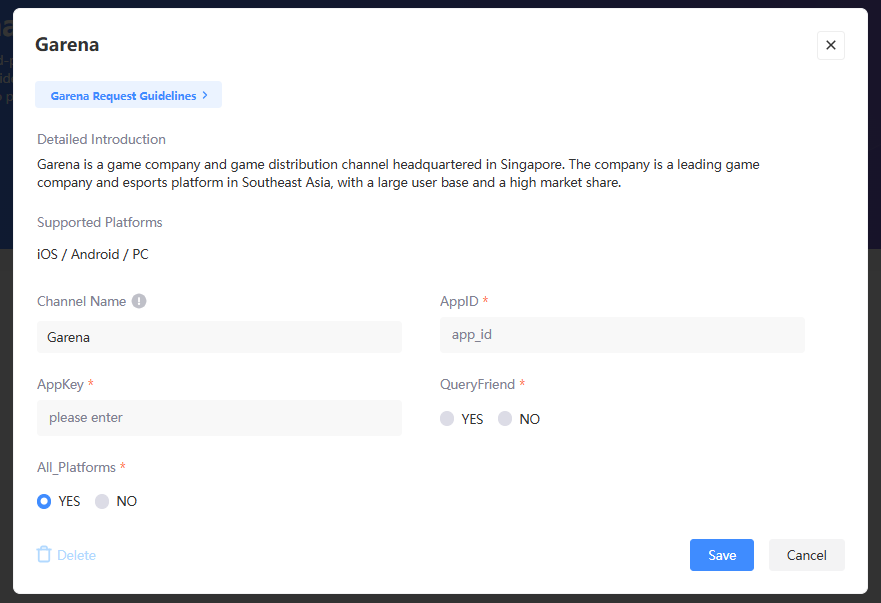
- AppID:
AppIDfrom Garena - AppKey:
AppKeyfrom Garena - QueryFriend: Whether to obtain the player's PS5 friend list
- All_Platforms: Enter 1, to represent all platforms
GameCenter
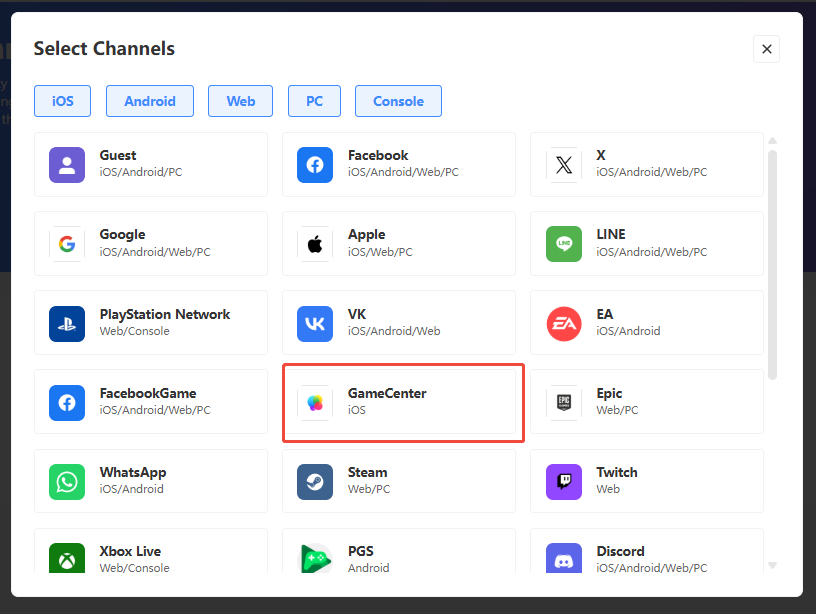
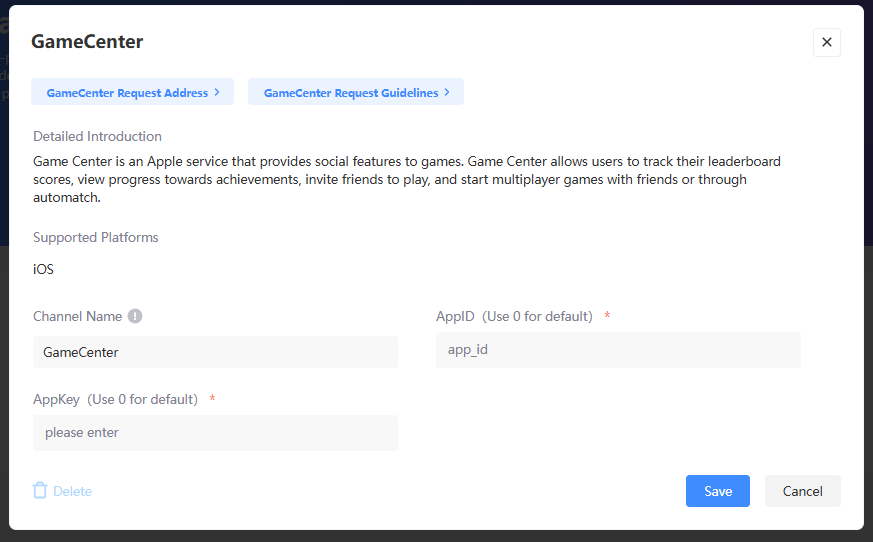
- AppID: Enter 0
- AppKey: Enter 0
Google
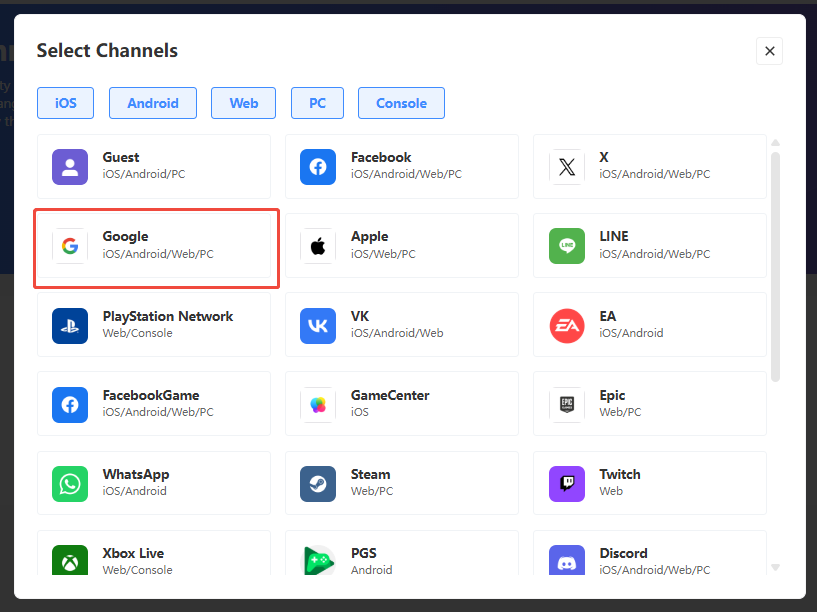
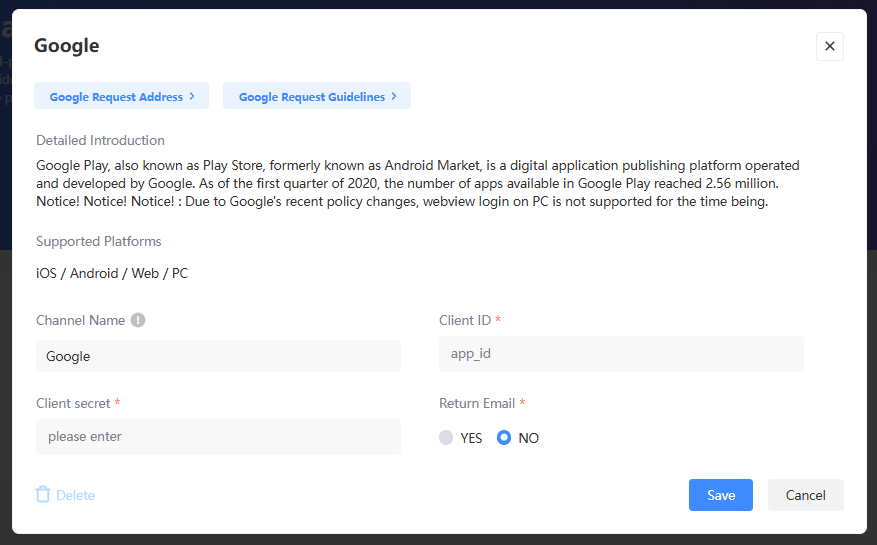
- Client ID:
Client IDfrom Google - Client secret:
Client secretfrom Google - Return Email: Whether to return the player's login email
Kakao
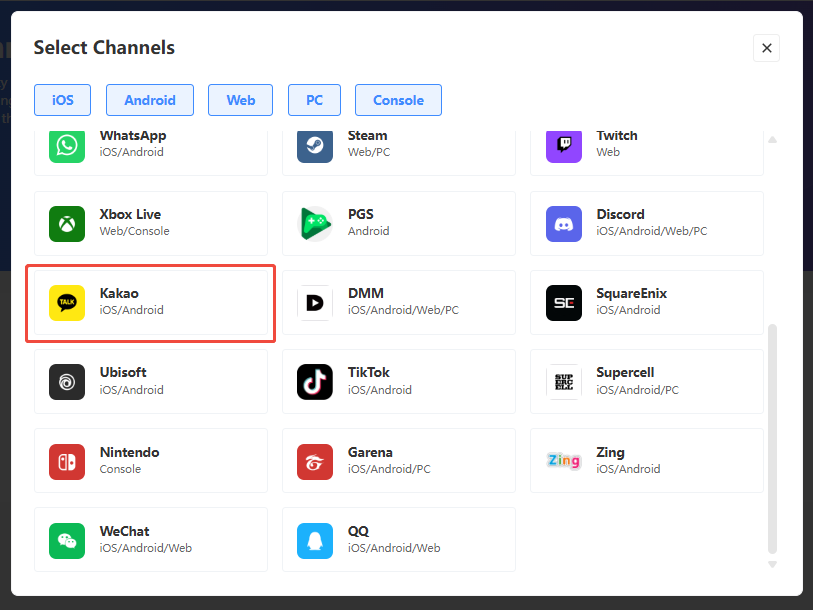
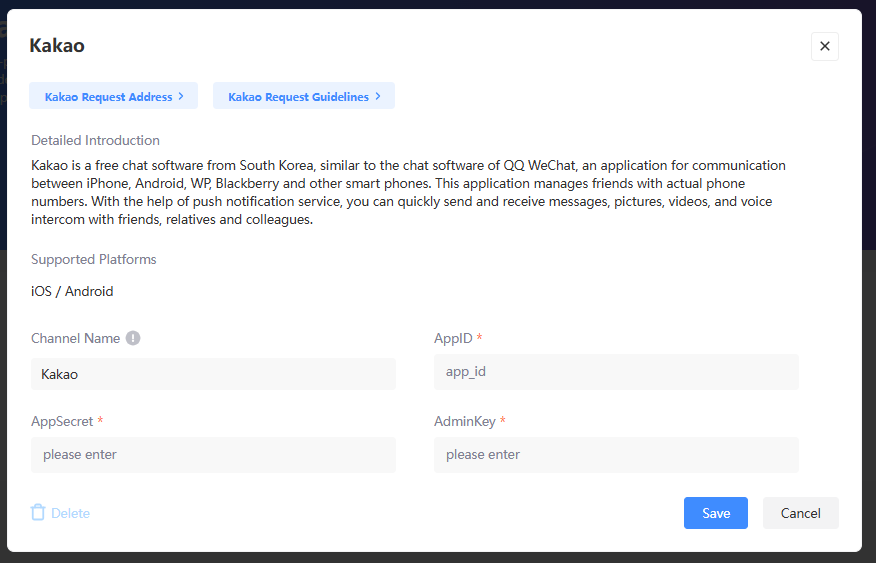
- AppID:
App IDfrom Kakao - AppSecret:
Native app keyfrom Kakao - AdminKey:
Admin keyfrom Kakao
LINE
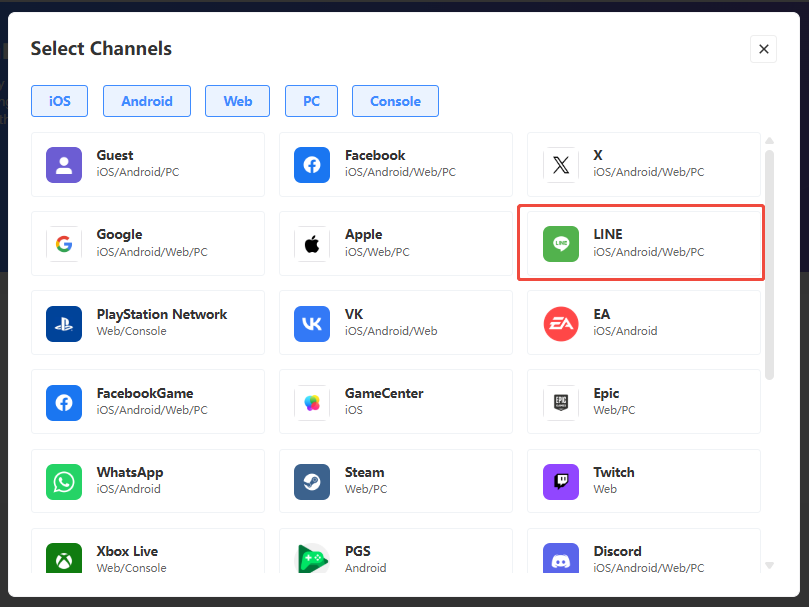
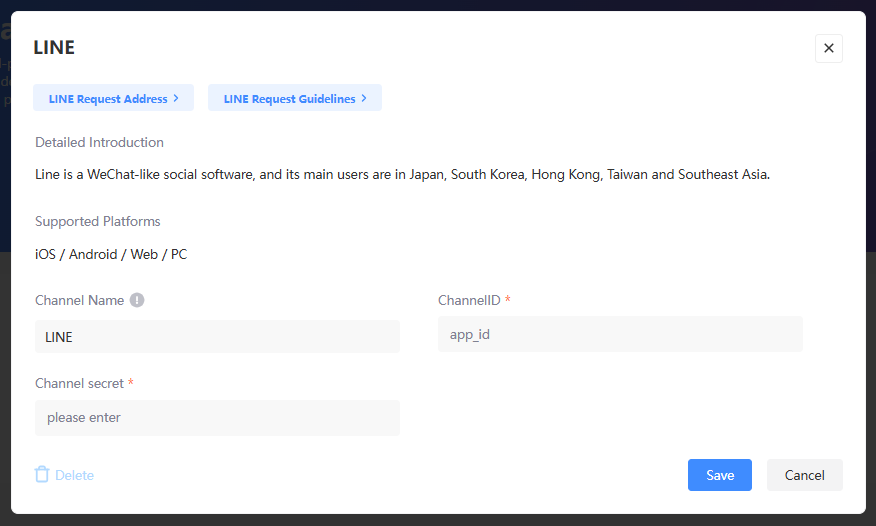
- ChannelID:
Channel IDfrom LINE - Channel secret:
Channel secretfrom LINE
Nintendo
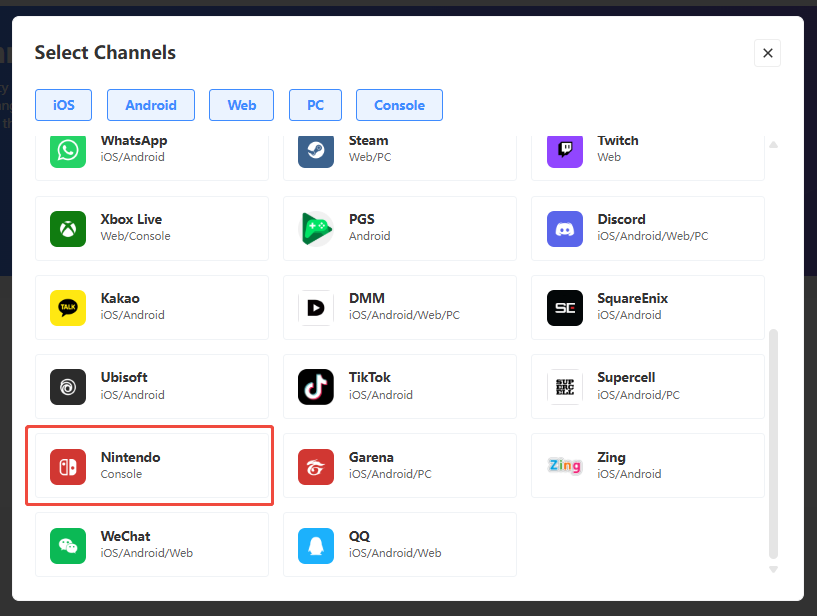
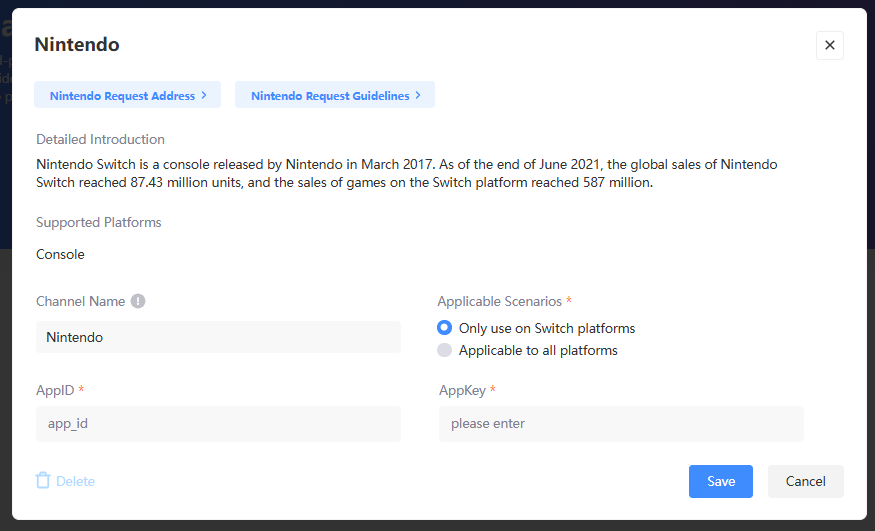
- Application Scenarios: Select how the channel will take effect
- AppID:
app_idfrom Nintendo - AppKey:
app_keyfrom Nintendo
PGS
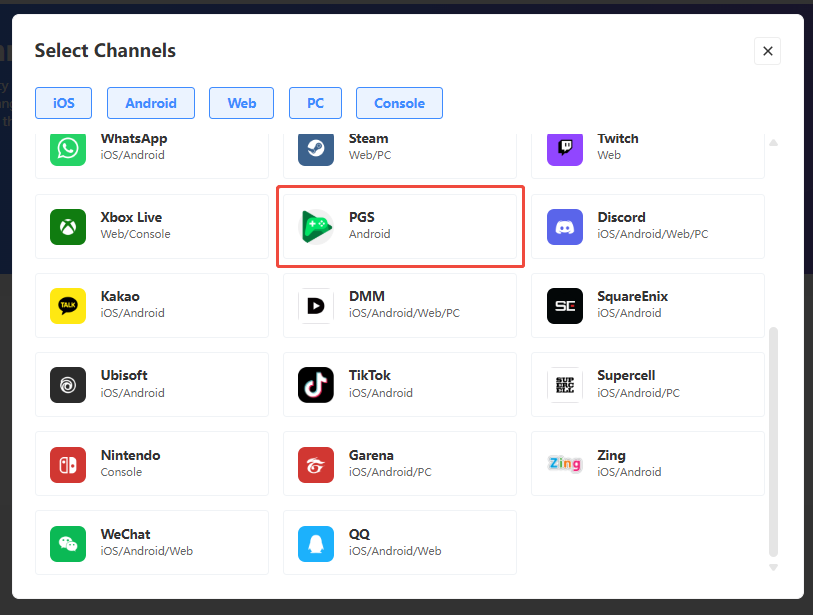
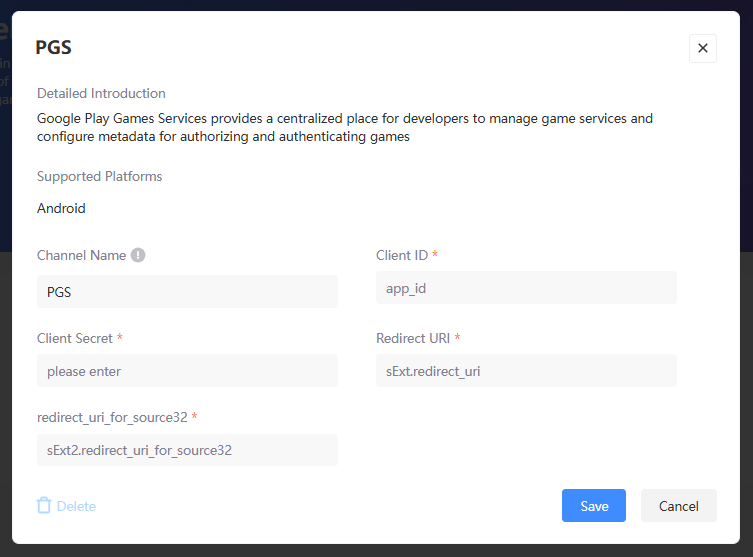
- Client ID:
app_idfrom PGS - Client Secret:
app_keyfrom PGS - Redirect URI:
sExt.redirect_urifrom PGS - redirect_uri_for_source32:
sExt2.redirect_uri_for_source32from PGS
PlayStation Network
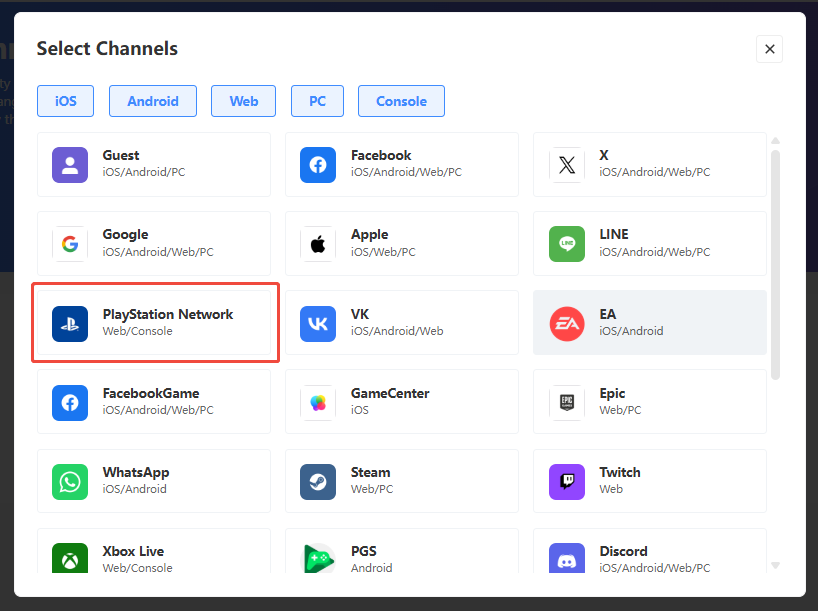
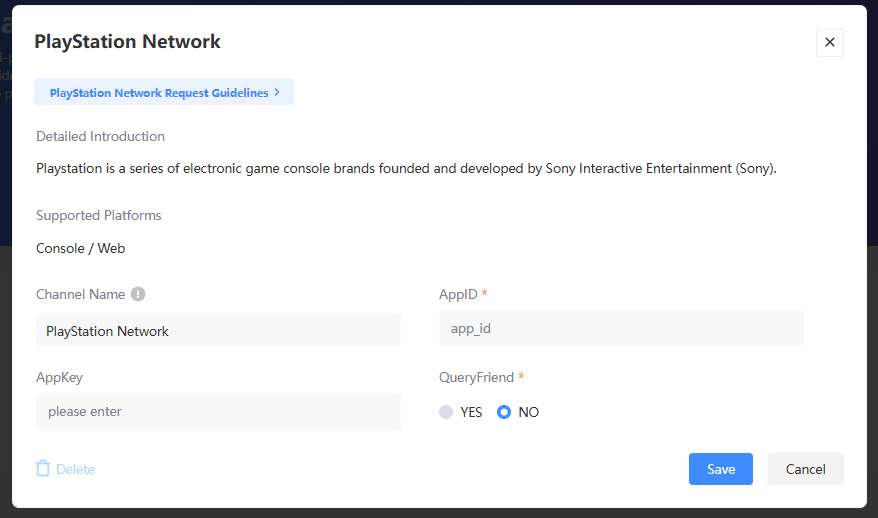
- AppID:
Client IDfrom PlayStation - AppKey:
Client Secretfrom PlayStation - QueryFriend: Whether to fetch the player's PlayStation friends list
QQ
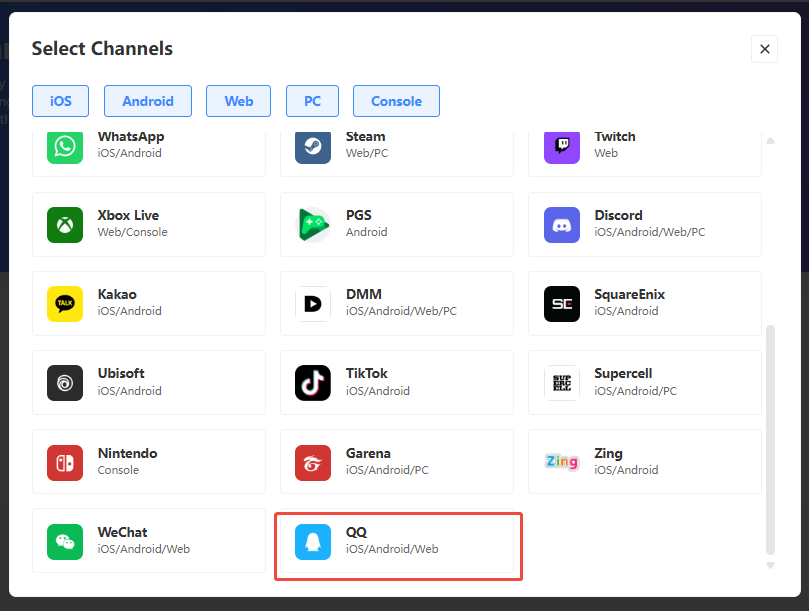
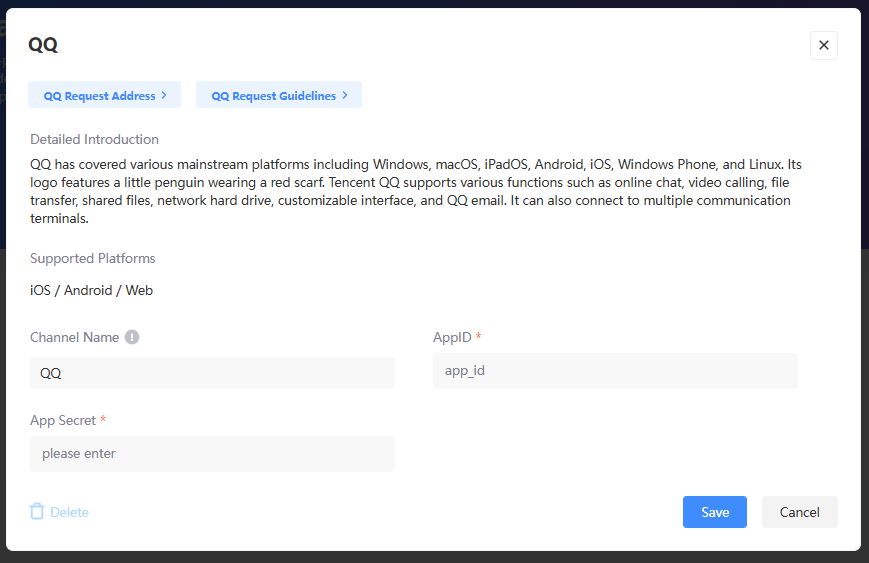
- AppID:
AppIDfrom QQ - App Secret:
AppKeyfrom QQ
SquareEnix
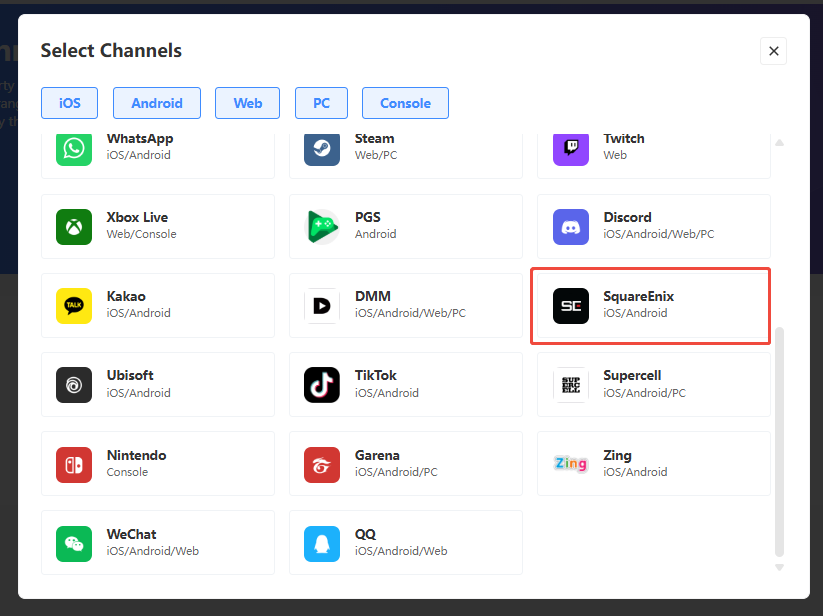
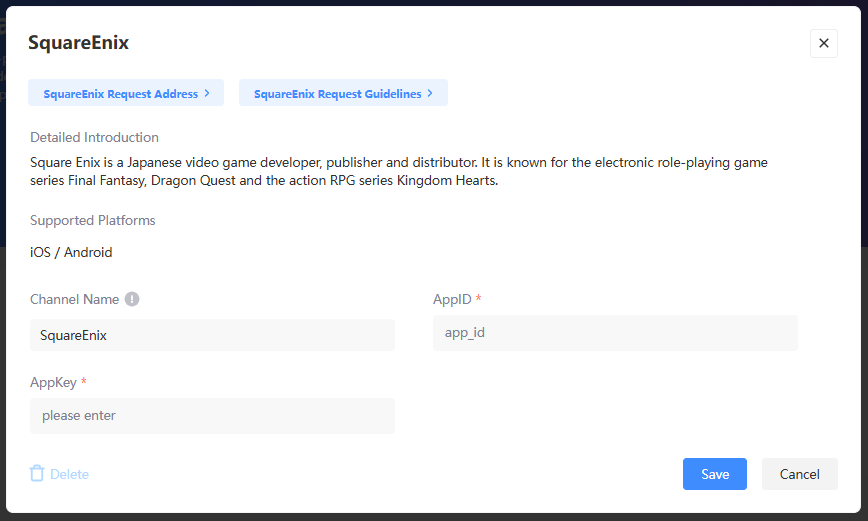
- AppID:
SE Game IDfrom SquareEnix - AppKey:
Consumer Secretfrom SquareEnix
Steam
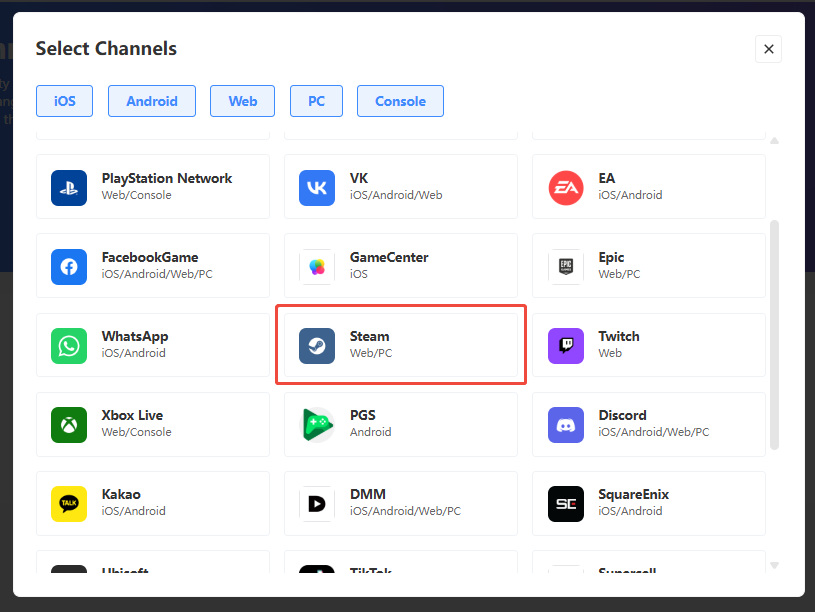
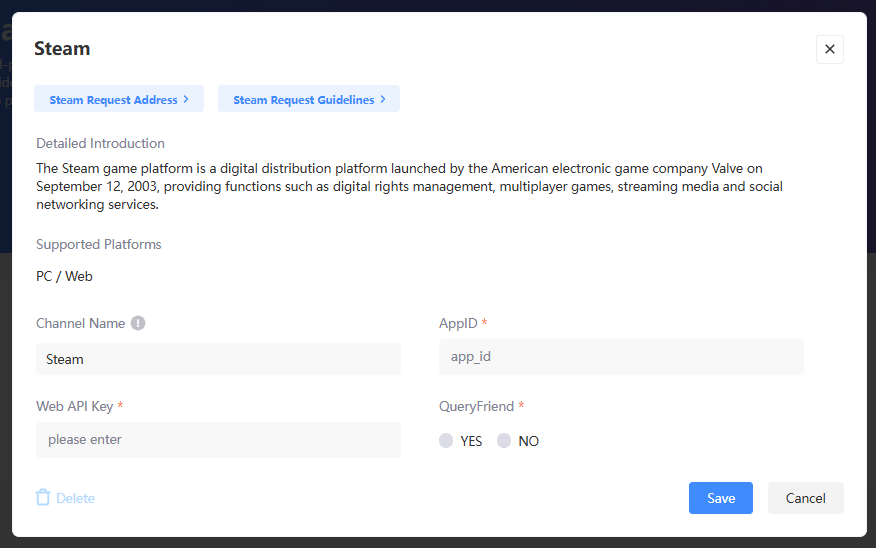
- AppID:
- When the game is in the development phase, set as
480, the dedicated Steam test App ID. - When the game is in the release phase, set as the
App IDfrom Steam.
- When the game is in the development phase, set as
- Web API key:
Web API keyfrom Steam - QueryFriend: Whether to obtain the player's Steam friend list
Twitch
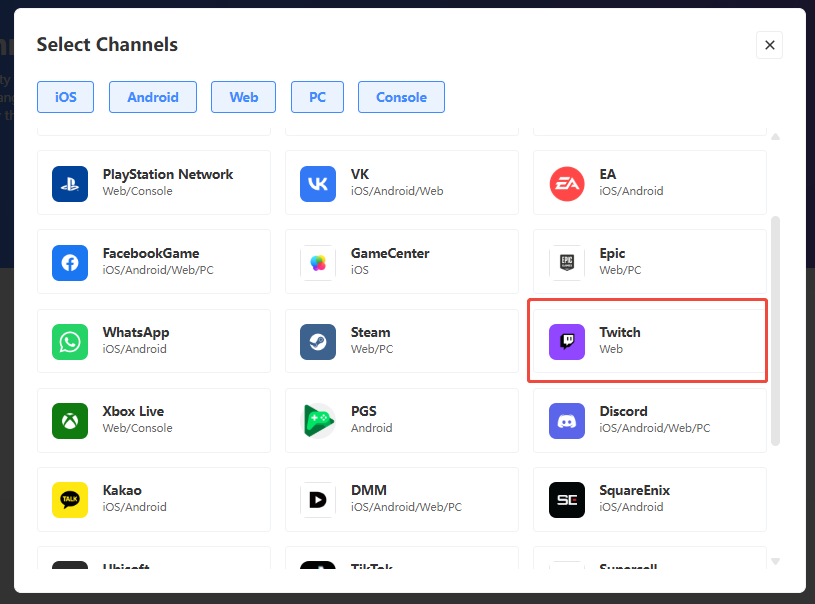
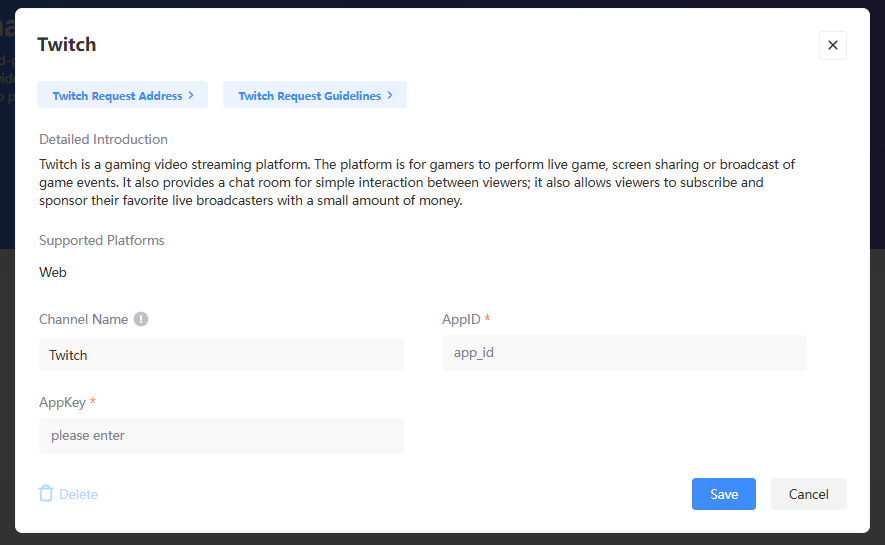
- AppID:
AppIDfrom Twitch - AppKey:
AppKeyfrom Twitch
Ubisoft
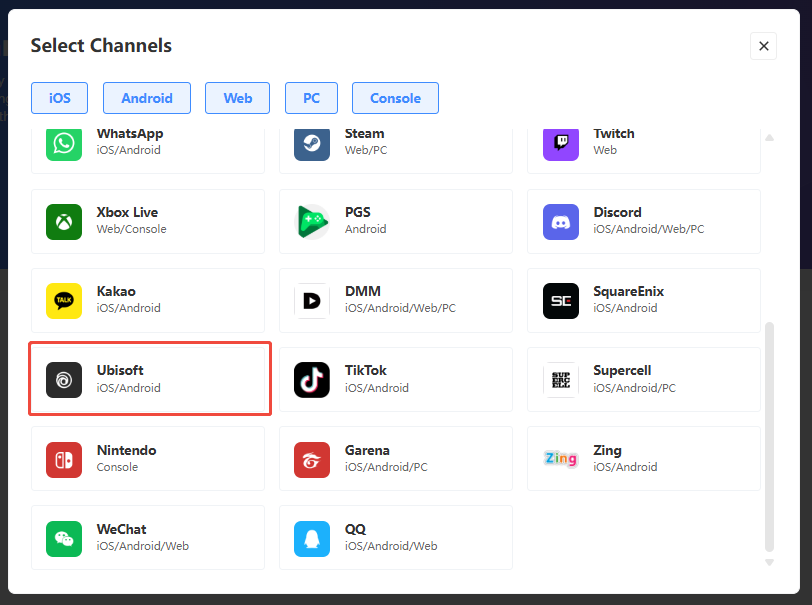
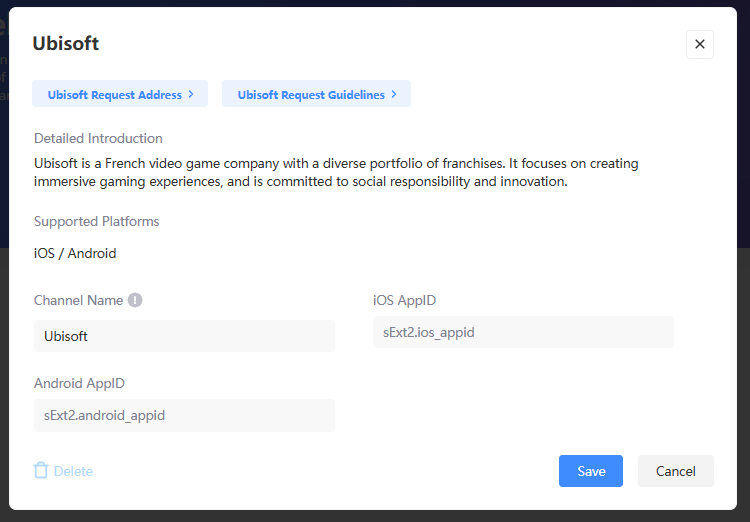
- iOS AppID:
sExt2.ios_appidfrom Ubisoft - Android AppID:
sExt2.android_appidfrom Ubisoft
VK
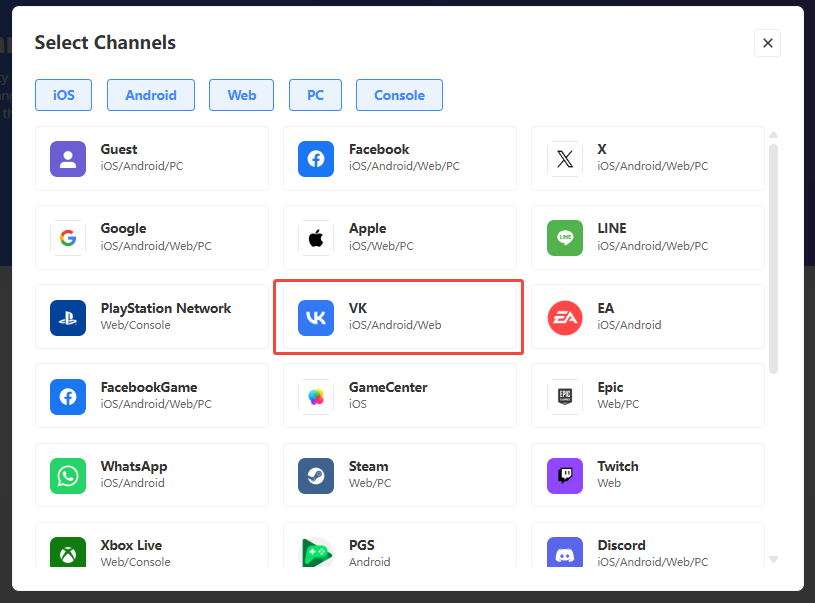
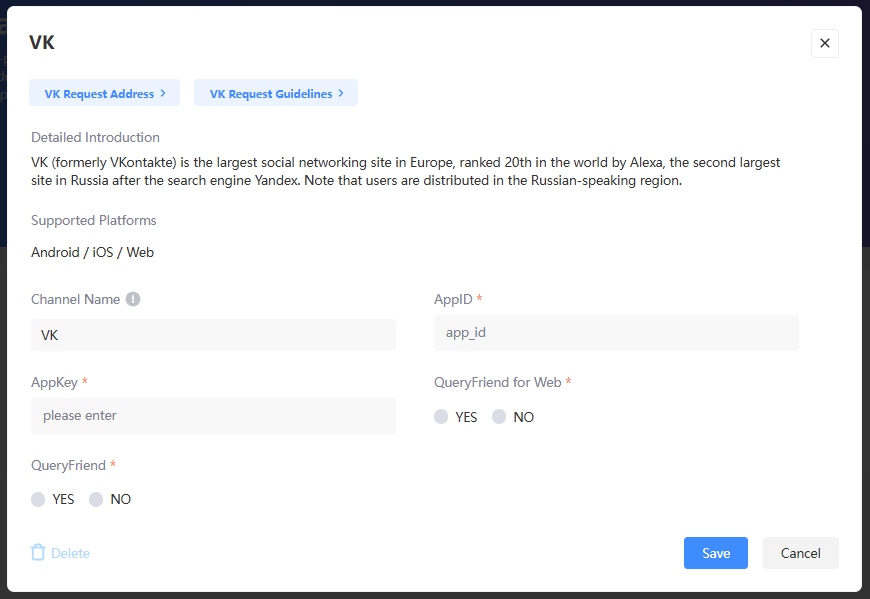
- AppID:
App IDfrom VK - AppKey:
Secure keyfrom VK - QueryFriend for Web: For Web, whether to obtain the player's VK friend list.
- QueryFriend: Whether to obtain the player's VK friend list
WeChat
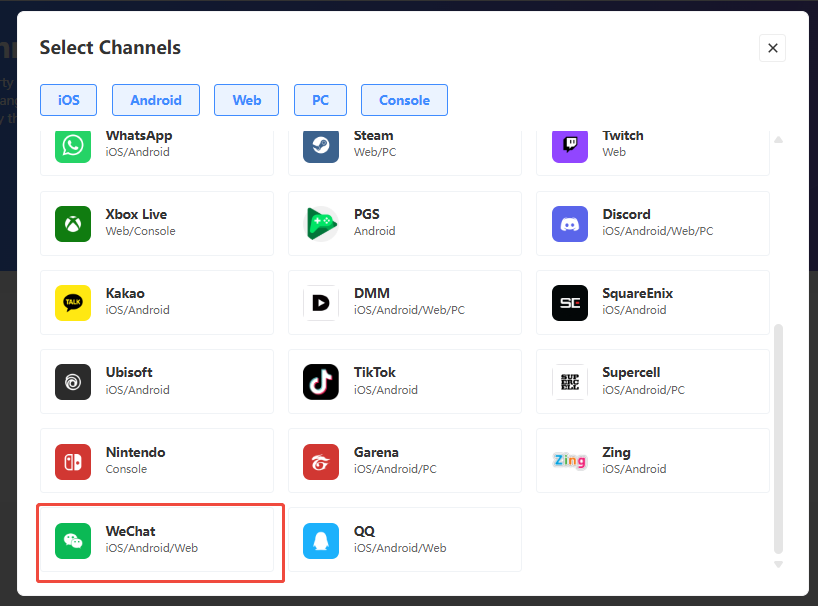
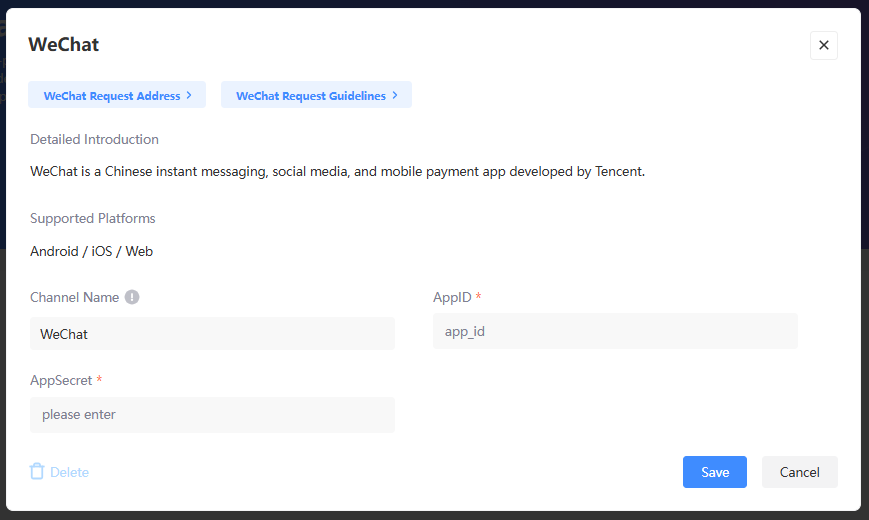
- AppID:
AppIdfrom WeChat - AppSecret:
AppSecretfrom WeChat
Xbox Live
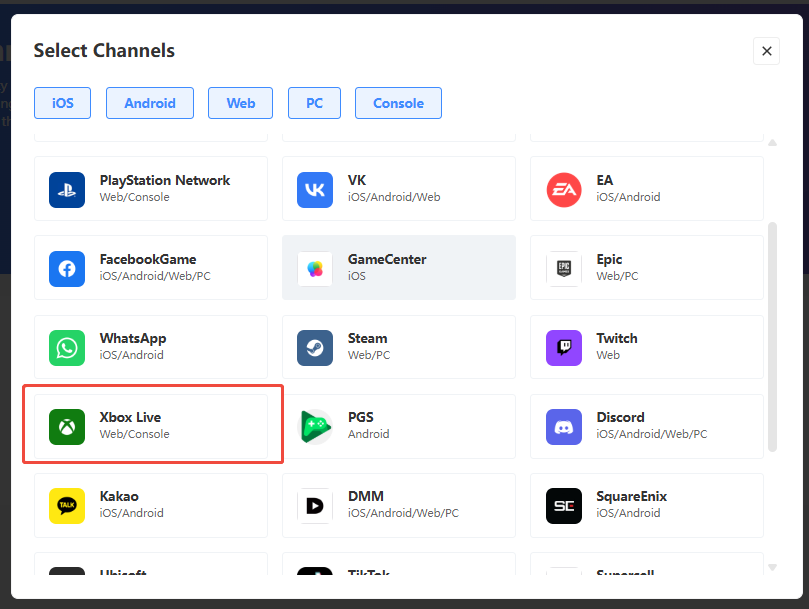
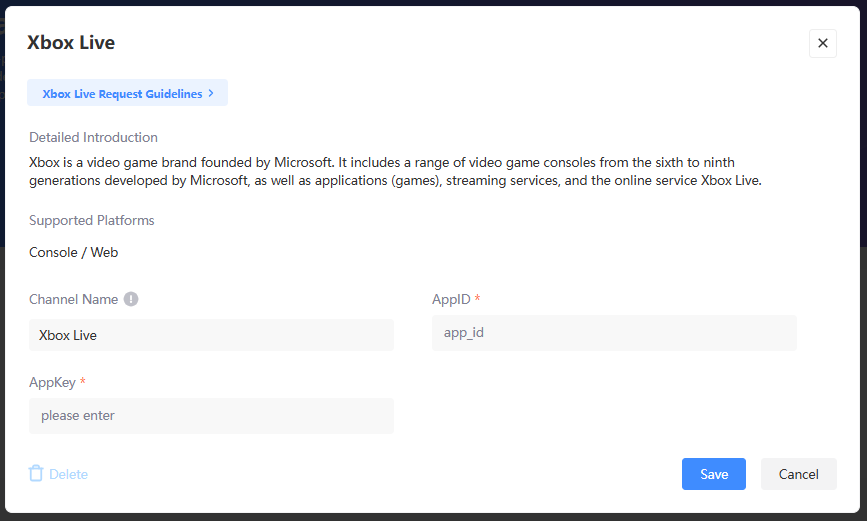
- AppID: Enter 0 for console, or
Application (client) IDfrom Microsoft for web - AppKey: Enter 0 for console, or
client secret valuefrom Microsoft for web
X
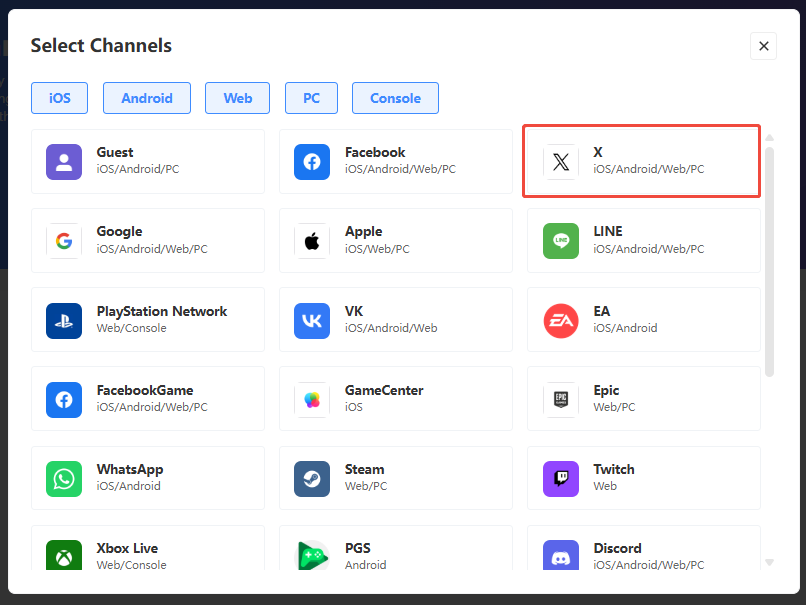
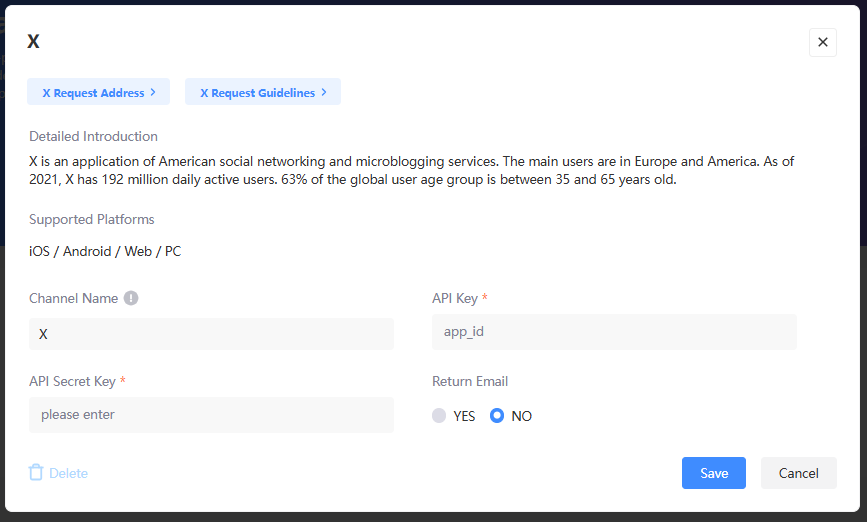
- API Key:
API Keyfrom X - API Secret Key:
API Secret Keyfrom X - Return Email: Whether to return the player's login email
Zing
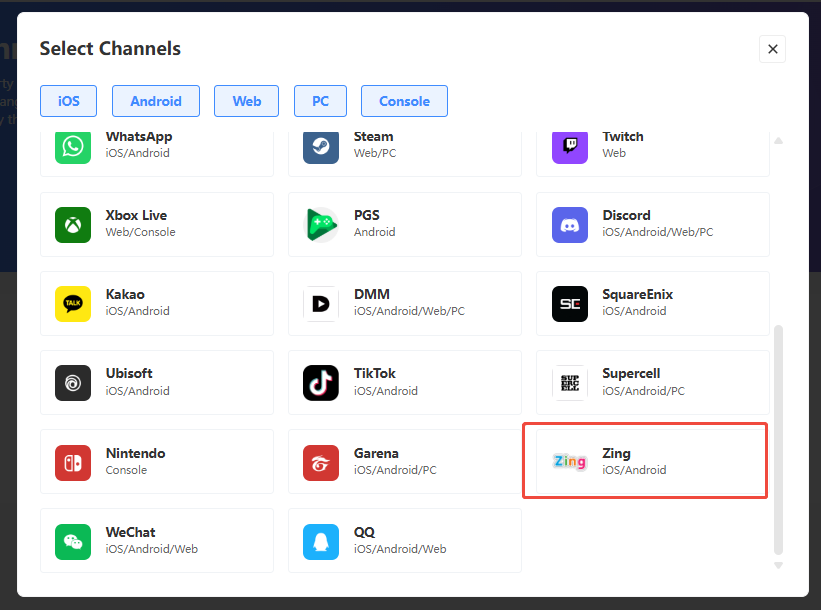
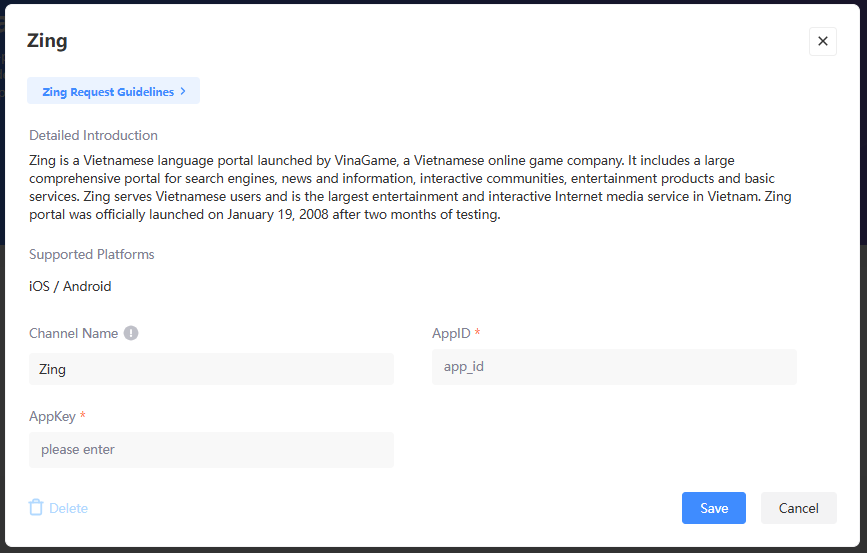
- AppID:
AppIDfrom Zing - AppKey:
AppKeyfrom Zing
Guest
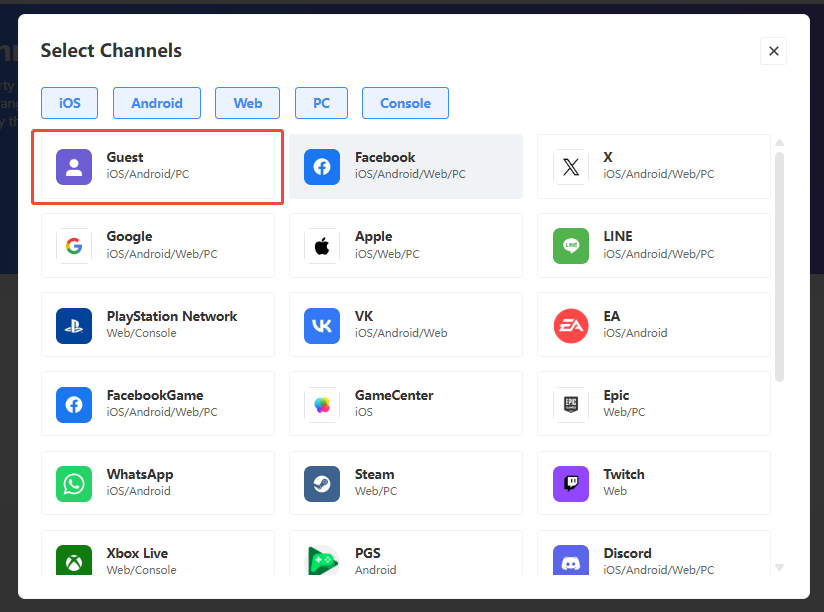
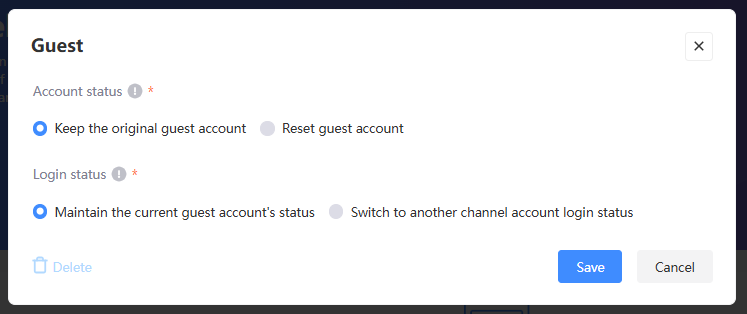
- Account status: Whether to retain or reset the guest account when linking to a third-party channel
- Login status: Whether to keep the login status of the guest account, or to switch to the linked channel when linking to a third-party channel